Working 8-5? It can feel hard to stay healthy and active when you live in cubicle-land for eight hours a day but these easy tips will help you build healthy habits while at the office. Try tackling just one or two at a time at first. Once you've established a healthy habit then build on it with something new. Before you know it all these healthy habits will be second nature.
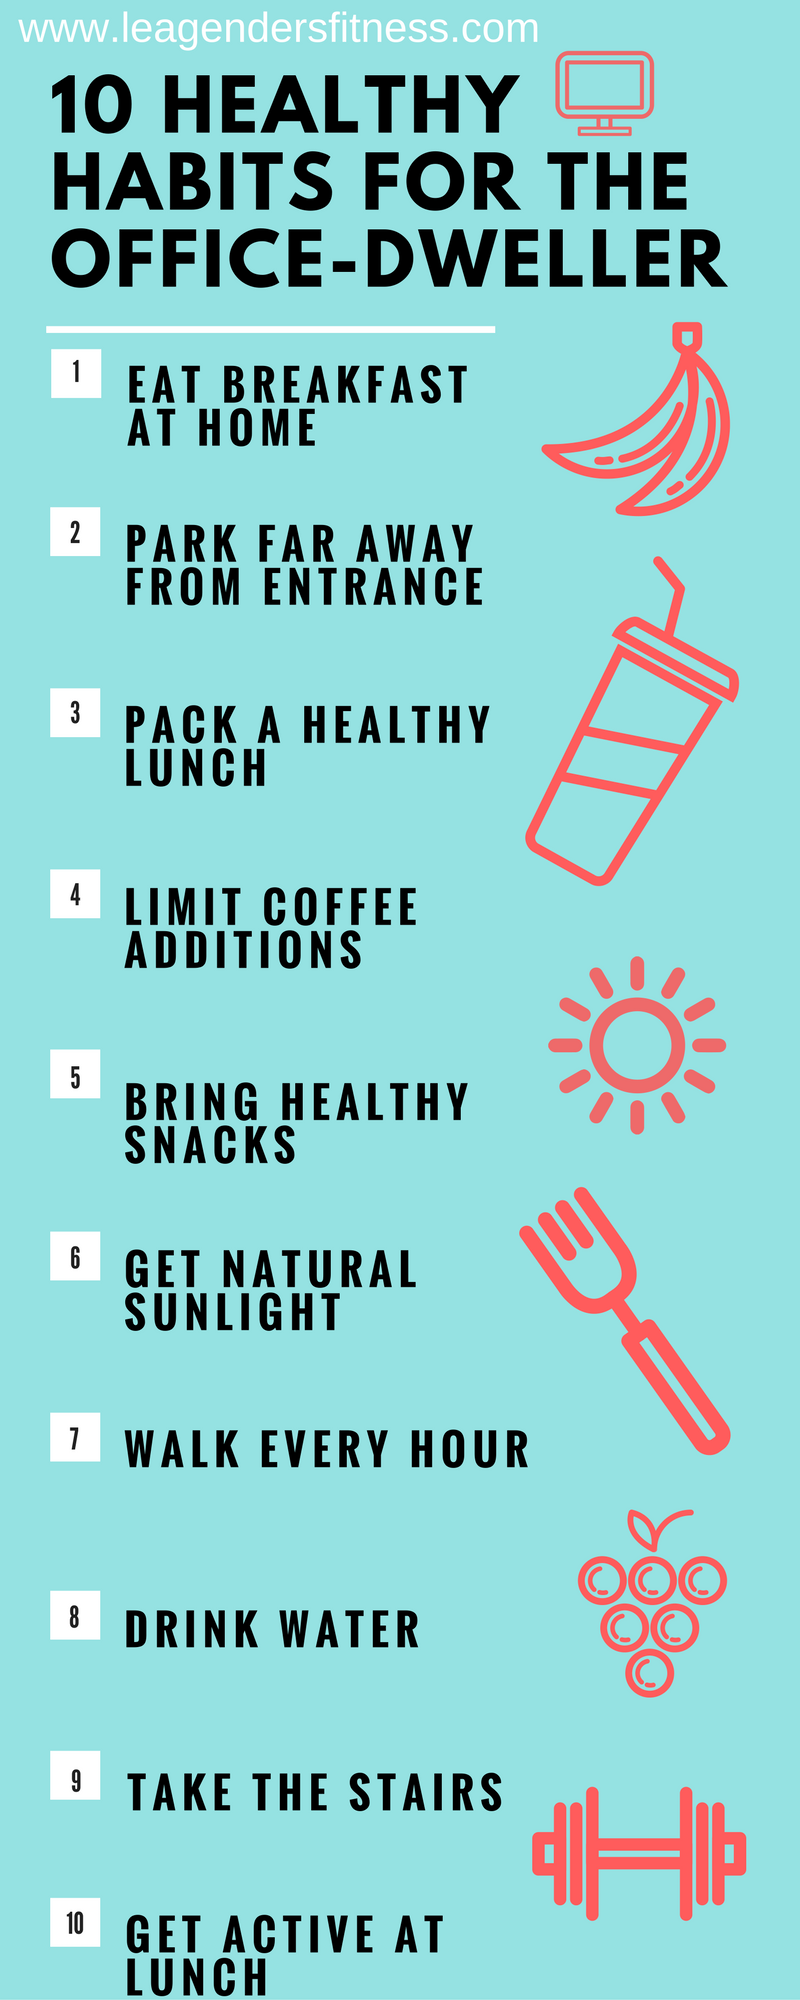
10 HEALTHY HABITS FOR THE OFFICE-DWELLER

EAT BREAKFAST AT HOME
Starting your day off on the right foot often starts with your first meal of the day. Eating a healthful breakfast at home before leaving for work can help limit the temptation of a drive-through breakfast or office donuts. I like to eat eggs and a banana each morning, so when my co-workers start texting on their drive in "Anyone want anything from McDonald's?" It is always easy for me to say "no, thank you." If you don't have time to eat breakfast at home, try making it at home and bringing it to the office to eat later.
PARK FAR AWAY FROM THE ENTRANCE
Start your healthy habits at the beginning of your work day by parking your car as far away from the entrance as reasonably possible. Getting a few extra steps in the morning (and throughout the day) starts your day off on the right foot. Pun intended.
PACK A HEALTHY LUNCH
I make and pack a salad from home every day. It is healthy, portion-controlled and delicious. I know that no matter what else I end up eating that day, at least I had a big healthy salad packed with vegetables and protein (usually chicken) for lunch. It helps eliminate temptation of high calorie or unhealthy lunches, saves money and establishes a healthy routine.
LIMIT THE COFFEE ADDITIONS
Be aware of the additions to your morning coffee. You may feel a boost from the caffeine, but adding sugar, creamers and/or flavor shots add empty calories often uncounted calories to your meal. I like my coffee like I like my clothing, black.
BRING HEALTHY SNACKS TO AVOID THE VENDING MACHINE
Visiting the vending machine can be a bad habit. If you pack healthy snack alternatives, you may never have to visit the vending machine again. Almonds, Pistachios, cheese, grapes, carrots, hummus, low sugar yogurt, cottage cheese, berries, oranges, apples and natural peanut butter are all good healthy snack options for the office.
GET NATURAL SUNLIGHT
Are you under the florescent lights all day? Get up and walk outside at least once a day, more if possible. I'm not suggesting you hang out there all day (unless your boss gives the thumbs up), just try to get a couple of quick doses of natural sunlight throughout the day.
GET UP EVERY HOUR FOR A QUICK WALK
Every hour on the hour I try to get up a take a quick lap around the office. I multi-task by going to see co-workers in their office instead of emailing or calling them. Get up and move around as much as possible. It's good for your mind, body and overall well-being.
REFILL A WATER BOTTLE
I fill my water bottle in the morning and I'll inevitably have to get up again and use the bathroom. I refill and the cycle continues. Use a restroom on another floor to get moving around a little more than usual. Refill throughout the day to stay hydrated.
TAKE THE STAIRS
Whenever possible, take the stairs instead of the elevator. Every step counts. I'm pun-tastic today.
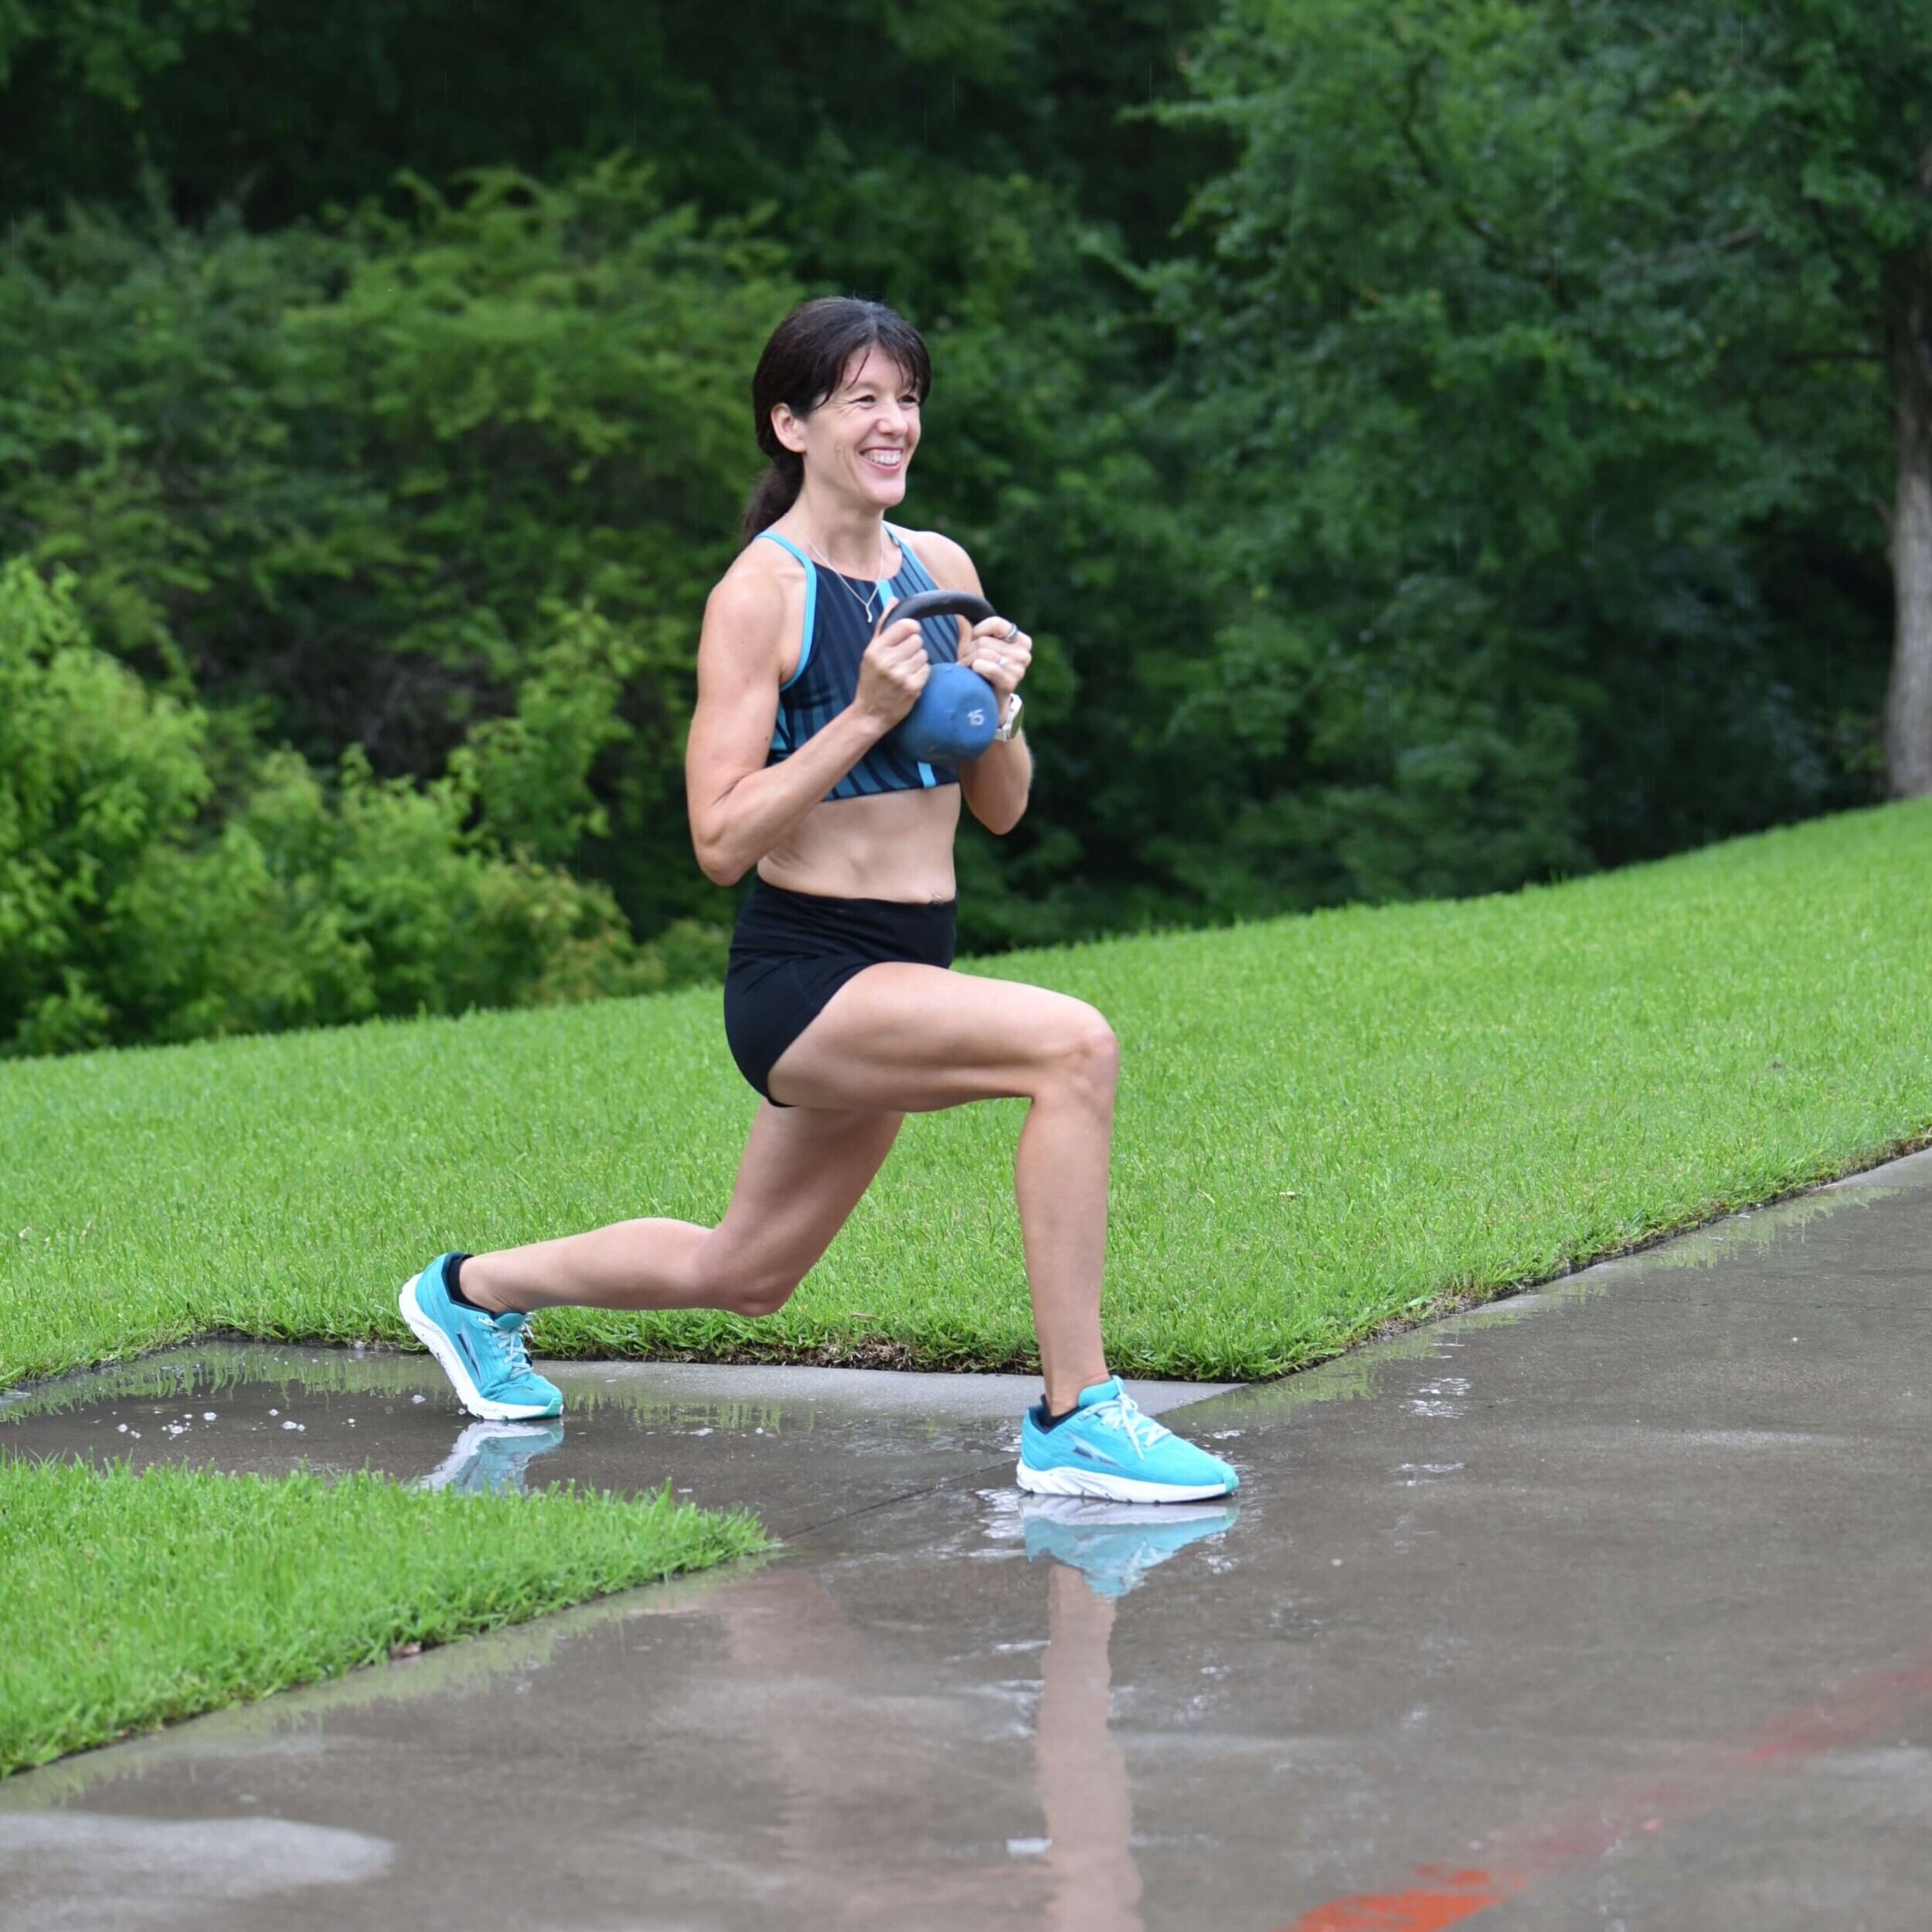
GET ACTIVE AT LUNCH
Ever heard of a RUNch? It is run on your lunch break. If you can't run, then walk. If you can't walk, then stretch. Take advantage of your limited free time and get active for at least part of your lunch break. Try to recruit co-workers to get active with you.
I know from my own office experiences that sometimes stress, deadlines, pressure and heavy workloads can make some days fly by in a blur, but if you establish healthy habits in your day it can help you manage stress, think more clearly and improve productivity.
Are you working on establishing healthy habits at the office? Can I help? What works for you? Any questions? Let me know in the comments!
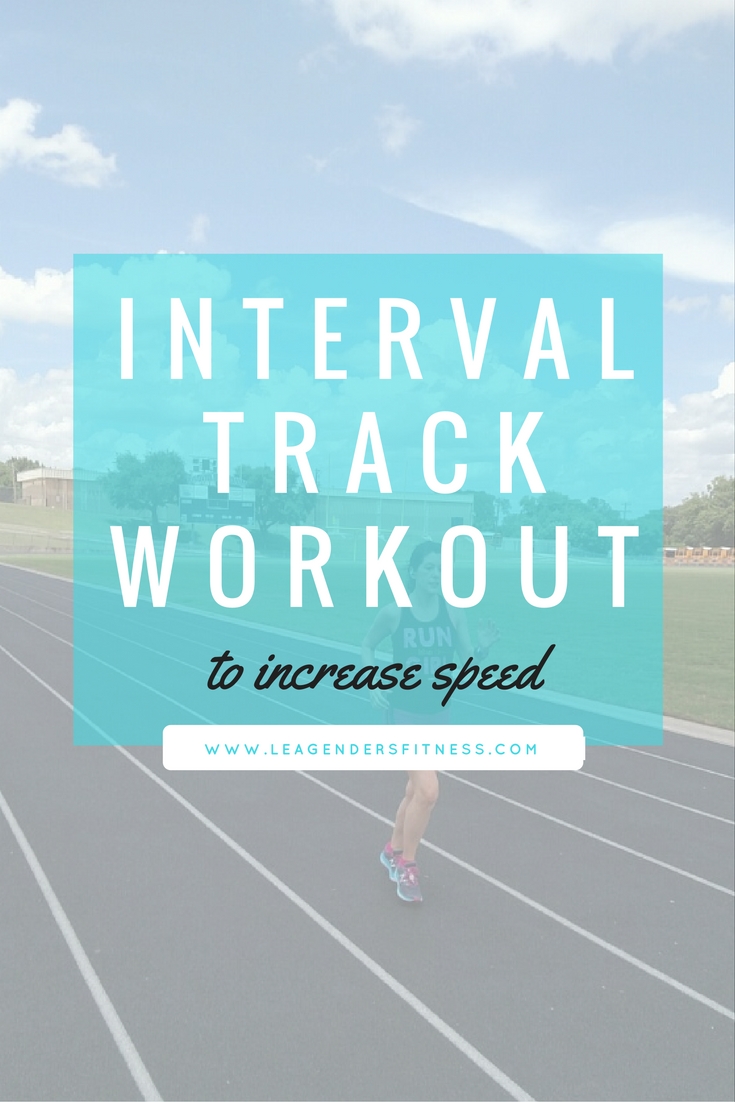
PIN ME
Like this post? It helps me when you share!
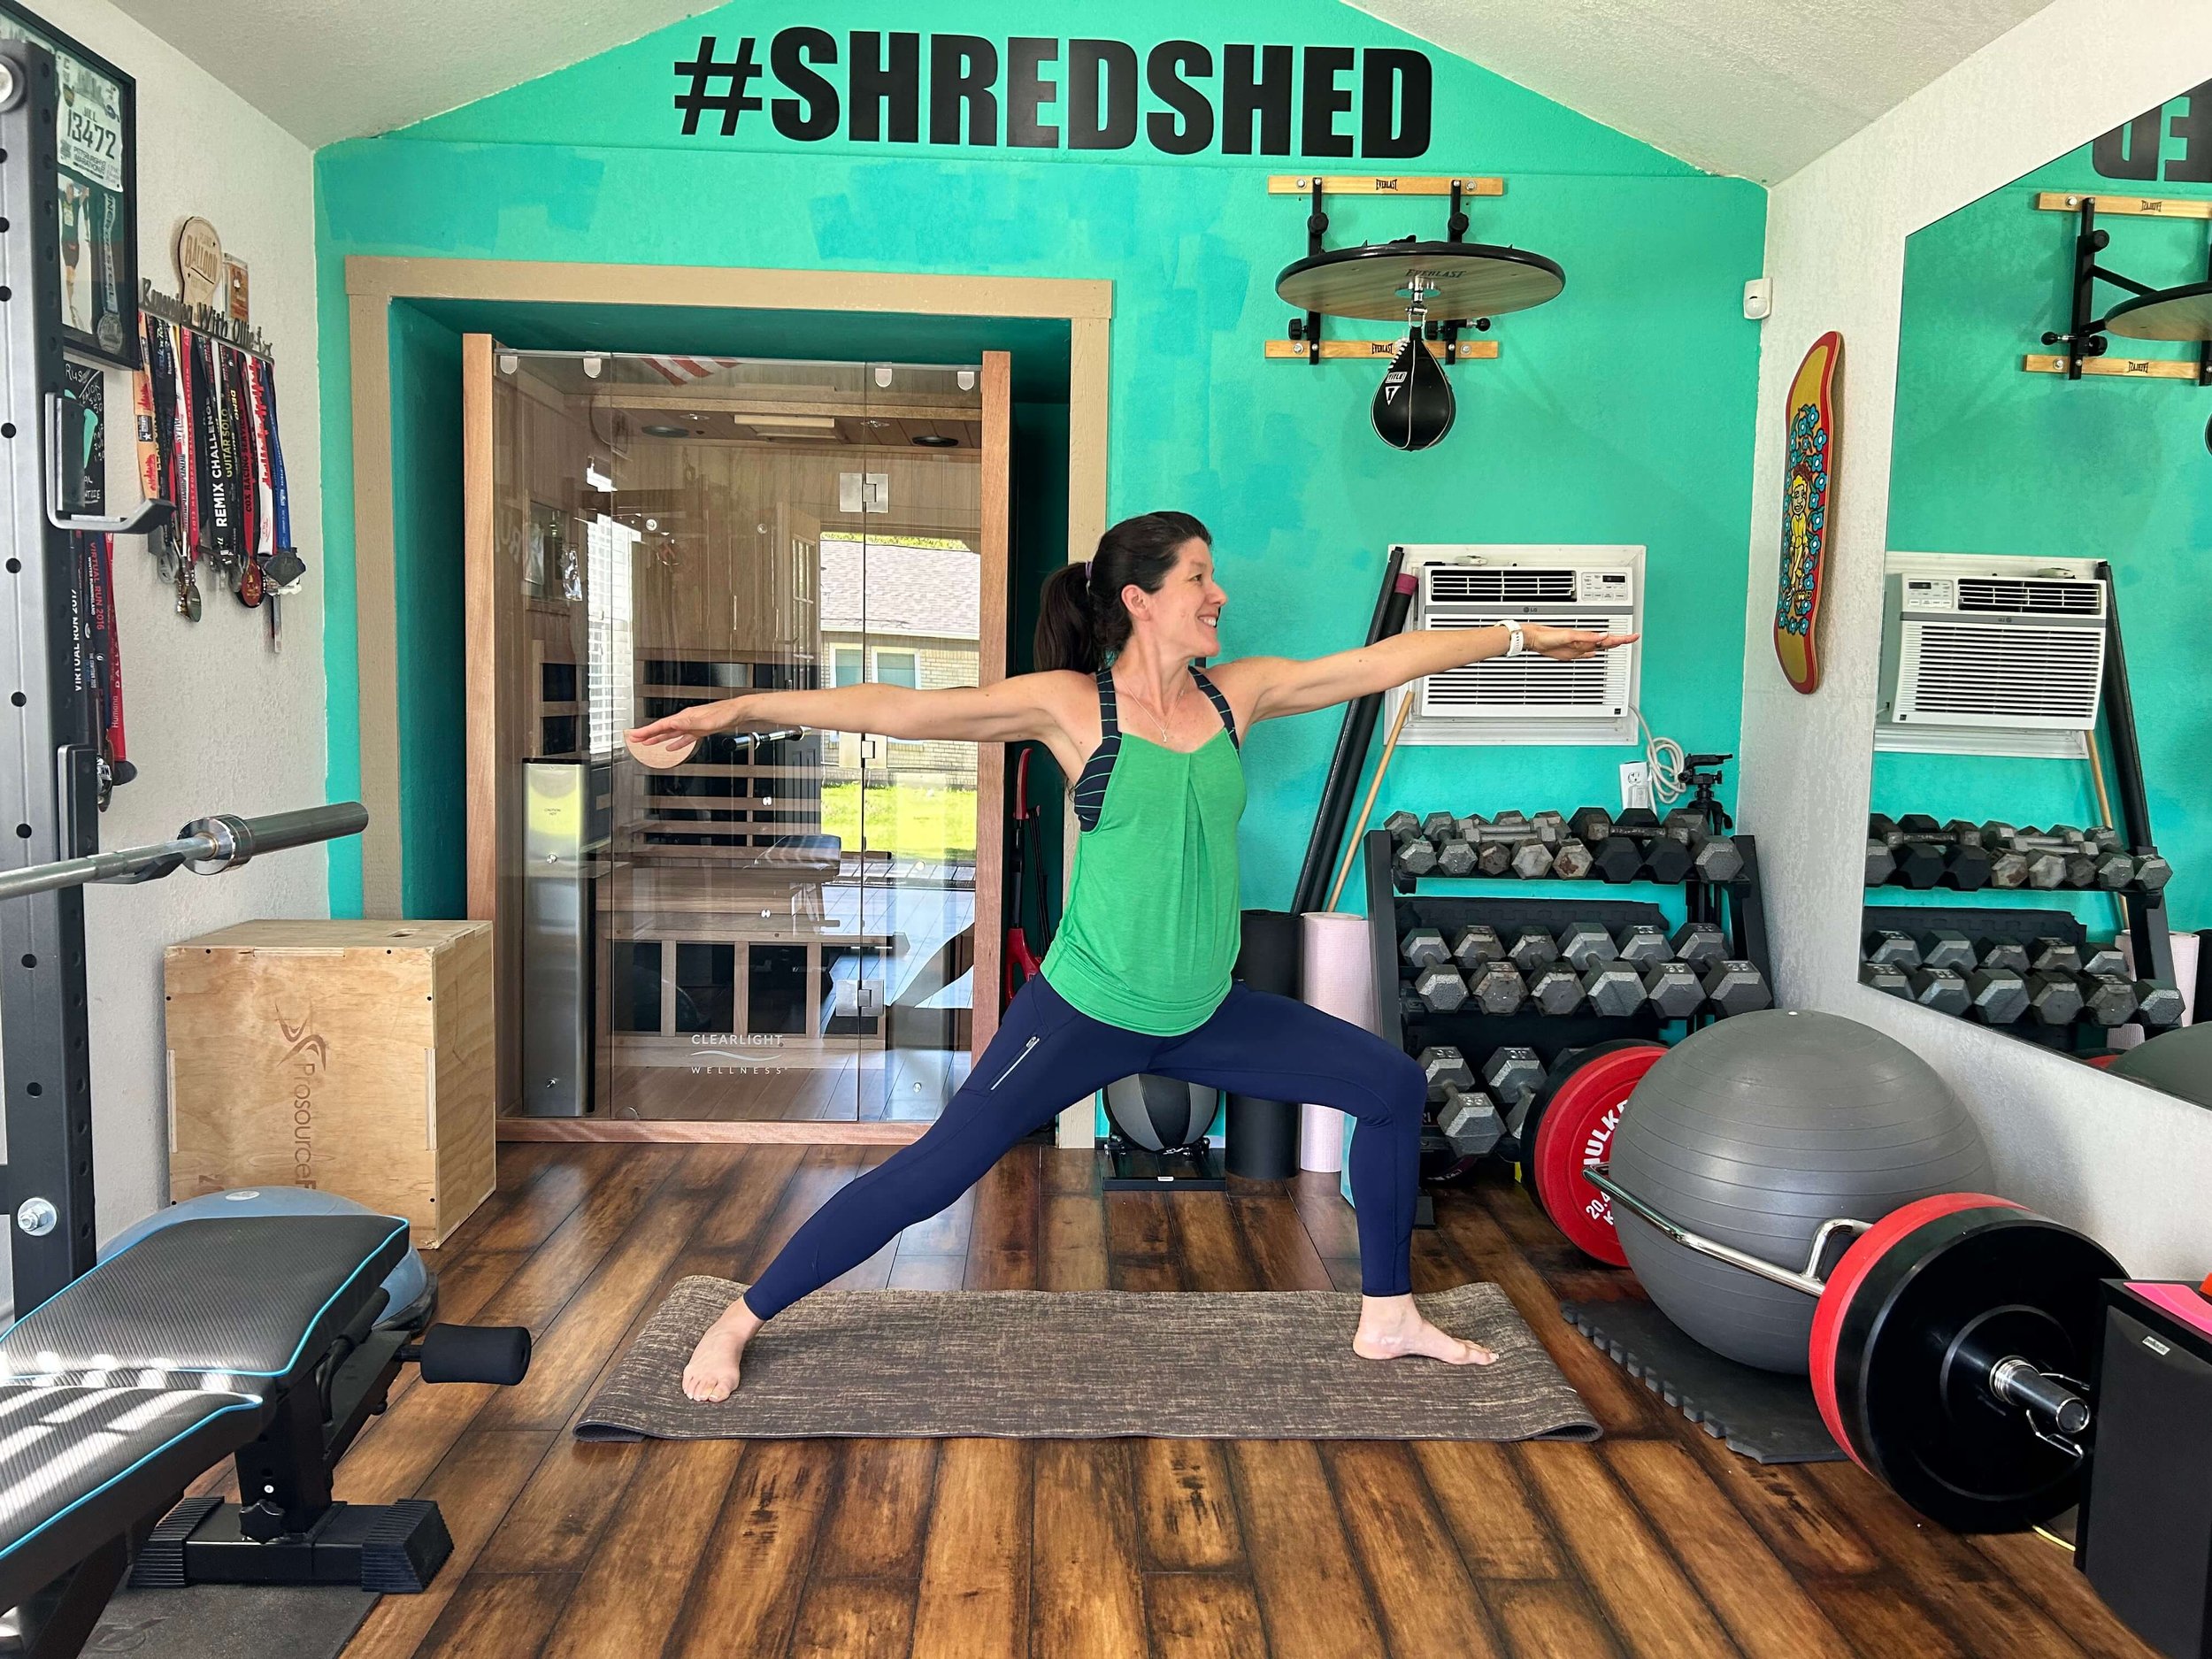
I am a NASM personal trainer and RRCA adult distance running coach that specializes in strength training for runners. I offer in-person training in the Shredshed, online training and Fit to Run bootcamps. If you are interested in a more in-depth running or strength training plan, please contact me. Have questions? I'd love to help.
While I am a certified personal trainer, I am not your personal trainer. Since I don't know your exercise abilities, injury background or medical history, please see your doctor before beginning any new exercise program.


In 2017, while working a corporate job I wrote a blog post dated five years into the future. I described my dream life in vivid detail, right down to the breakfast I'd eat and the way my business would feel. Then, I let it sit in my drafts for nearly a decade.
Reading it now in 2026 is surreal. While the timeline took longer than I imagined, the feeling of my life today is identical to that vision. I am sharing the unedited 2017 draft today as a lesson in the power of knowing your "why" and daring to write it down.