Why You Should Ditch the Scale and What You Should Do Instead

You know the feeling all too well. You did great last week. You worked out hard. Really hard. You worked out even when you didn't feel like it. Your food diary was glowing with good choices. You meal prepped like a boss. You skipped the lunch out with coworkers at the burger joint, packed a salad every day and ate a balanced healthy dinner every night. You skipped the candy jar and passed on the birthday cake. You killed it! But then you stepped on the scale and the number flashing up at you seemingly wasn't reflecting all your hard work from the week. Your heart sinks. What gives? 


IT TAKES TIME

A healthy weight loss goal is 1-2 pounds per week on average over time. Any more than two pounds per week and you are likely losing muscle along with fat which can be detrimental to your metabolism. 

A 1-2 pound per week goal doesn’t mean that you should expect to lose two pounds every single week. Weight loss rarely happens in a straight line. With exercise and a small reduction in calorie intake you can probably expect to lose between 12-20 pounds in 12 week period as an average. That doesn’t mean there won’t be weeks when you don’t lose any weight or even gain a pound on the scale. The important thing is to watch the downward trend over time rather than obsessing over the number week to week. 

Practice patience and consistency. Life is not a 12 week challenge. This isn’t the Biggest Loser, this is your life. (News stories were reporting that most of those contestants put the weight back on anyway due to the unhealthy way they lost it.)

DITCH THE SCALE IF:

You focus too much on the number on the scale from week to week.

WHAT YOU SHOULD DO INSTEAD:

Be consistent with your healthy habits and lifestyle changes. Focus on the process. Give it time.


WEIGHT LOSS VS. FAT LOSS

The problem with focusing too much on a goal weight is that the scale only tells one small piece of the story. A mistake that a lot of people make is that they focus on weight loss rather than fat loss. Muscle and fat weigh exactly the same, of course. One pound of fat = one pound of muscle. However, muscle is much more dense and takes up a lot less space in your body. If you are losing fat but gaining muscle, the number on the scale may stay the same, but you may wear a smaller pant size. Focus on fat loss and lean muscle gains. Alter your body compensation by exercising and eating healthful foods. 

If you lose too much weight too quickly, you are almost certainly losing lean muscle along with fat. Someone who is too focused on scale weight may be thrilled to see a lower number but the truth is that it could be a bad thing if they are also losing muscle. 

DITCH THE SCALE IF:

You are more worried about weight loss than fat loss.

WHAT YOU SHOULD DO INSTEAD:

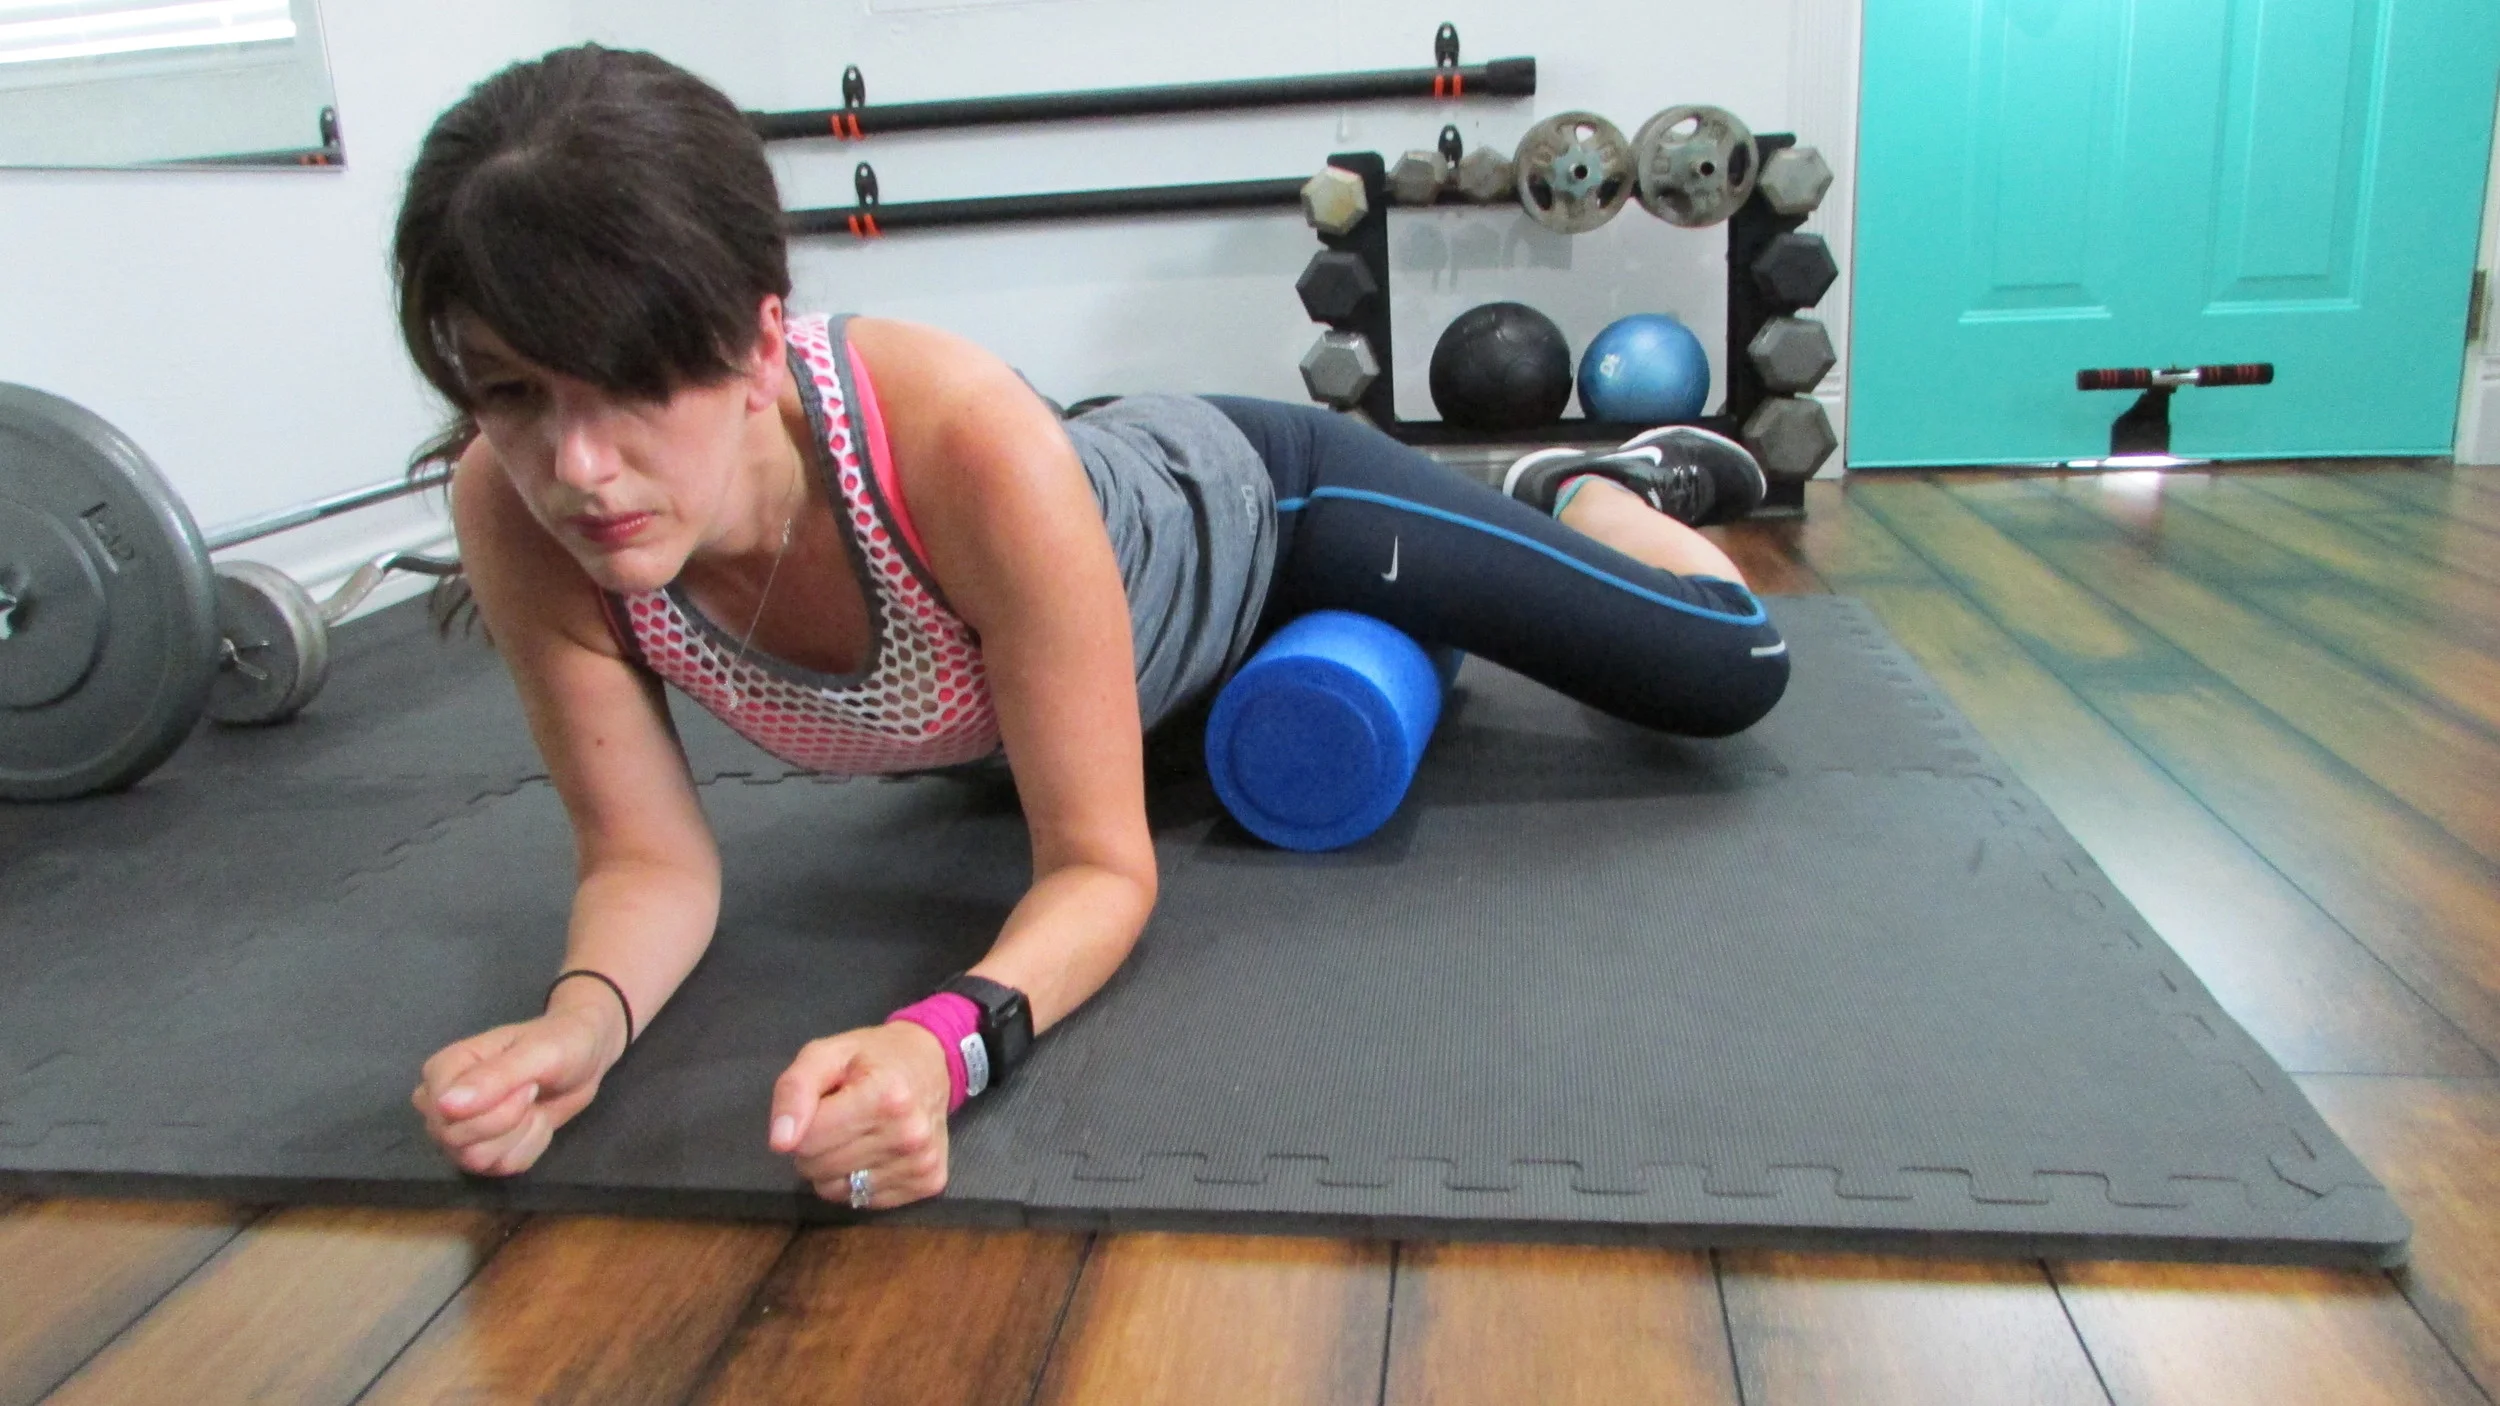
Forget weight loss and focus on fat loss. Track your fat loss progress by measuring your body fat percentage and taking body measurements. Perform weight bearing exercises to build and preserve lean muscle and do a mixture of moderate and high intensity cardiovascular exercises to burn fat.


NON-SCALE VICTORIES

Some people decide on an arbitrary number they want to reach on the scale and won’t be satisfied until they reach it, but you can’t bully your body into cooperating with your unrealistic goals. If we focus on fat loss and other non-scale victories then we can find success regardless of the number on the scale. How do you feel? How well are you sleeping? How do your clothes fit? How are your energy levels? How has your athletic performance improved in sports and in life? Can you carry the groceries from the car to the house without trouble? Can you chase the kids (or dogs) around the back yard or climb the stairs without getting winded? These are all non-scale victories that deserve to be celebrated. What if you had positive responses to all the above questions but your scale weight stayed the same? That would be great because it would prove that your hard work is paying off. You are now healthier, more athletic with improved body composition. 

DITCH THE SCALE IF:

You can’t see past the scale to appreciate the successes in non-scale victories.

WHAT YOU SHOULD DO INSTEAD:

Keep track of non-scale improvements as diligently as you are watching your scale weight.

In the end the number doesn’t matter. It’s great to have fat loss goals and fitness goals, but picking a number that you think you should weigh and then going after it by any means necessary is unhealthy. A healthier alternative is to learn to love movement, healthy foods and find joy in the process and see where it takes you.

People who have a healthy relationship with the scale should continue to use it as one of the many tools they use to track progress. However, if you struggle with scale or become obsessed or discouraged with your scale weight, then I recommend you ditch the scale and never look back. 

Any of this sound familiar? Any questions? Let me know in the comments. 

Like this post? It helps me when you share!


Would you like help losing fat and building muscle? Check out my personal training services page. 

Coach Lea

I am a NASM personal trainer and RRCA adult distance running coach that specializes in strength training for runners. I offer in-person training in the Shredshed, online training and Fit to Run bootcamps. If you are interested in a more in-depth running or strength training plan, please contact me. Have questions? I'd love to help. 

While I am a certified personal trainer, I am not your personal trainer. Since I don't know your exercise abilities, injury background or medical history, please see your doctor before beginning any new exercise program.


BACK TO THE BASICS: RECOVERY AND FOUNDATION BUILDING PLAN

For workout Wednesday I have some bad news to share. I'm not perfect! Gasp! Shocking! I know. 

It happens to the best of us. I got injured. I know I talk a lot about injury prevention for runners here, but this wasn’t a running injury…but it is preventing me from running. If you’ve even been injured, you know it sucks.

I was working really hard on my pushups. I was progressing quickly. I was feeling so great and confident about it that I pushed my progression too quickly. I know better. Slow progression should always be the goal, but I got overconfident and pushed too far. I pulled a muscle.

This is real life and I am far from perfect. I made a mistake by pushing myself too hard but I was ready to take corrective action. After I realized I did some damage I immediately stopped lifting any weights. You don’t get better by pushing through, you get better by resting. After I hurt my arm, I started running more than usual. I still wanted to workout and instead of dwelling on what I couldn’t do, I decided to focus on what I could do. Besides I love to run, I didn’t think twice about it. 

But time had passed and it wasn’t getting any better, in fact, it seemed to be growing worse. My shoulders felt sore and tight all the time and that pain in my arm wasn’t going away. It occurred to me one day after a six mile morning run when I was in a lot of pain that the arm swinging motion from running was making the problem worse. If I was going to get better then I needed to rest it. Really rest it and that means no running. 

I spent about a week feeling sorry myself and not doing anything but my bare minimum goal of 10K steps day (which, by the way, is a lot harder when you don’t run). It's time to get over it. I decided that this is a great opportunity to get back to the basics. 

I will focus on what I can do, not what I can’t do.


What does that mean when you can’t lift weights or run? It means focusing on lower body, core exercises, balance, mobility and flexibility. It is a great opportunity to return to the basics and rebuild a strong foundation while my arm and shoulder heels. 

It will be frustrating to eliminate weights even from my lower body exercises. Lifting a water bottle with my left arm hurts so I have to be careful not to put any unnecessary pressure on it. Even holding a weight while performing lunges or squats will be too much. I am mentally prepared that this will feel like a giant physical step backwards, but to stay positive as to how consistent work on the basics will propel me forward in the future.

I am breaking out the BOSU ball to work on balance, foam rolling to work on mobility and flexibility and bodyweight exercises for hip, ab and glute strength. 

Who knows? Maybe this was a good thing. It is forcing me to take a step back and rebuild my foundation. Once my base is strong and balanced again and my arm is fully healed, and I will be in a better position to get stronger than ever. 

Stay positive, right? 

So what does that plan look like? It looks like a lot of exercise plans I have shared with you here, so I thought I would round up my best recovery and foundation building exercises.

FOAM ROLLING

Foam rolling plays an important role in muscle balance, injury prevention, mobility and flexibility.

PREHAB

I will need to regress some of these exercises as to not put any pressure on my arm or shoulders, but many of these will work in my recovery plan. Back to the basics of clam shells, hip raises and glute bridges for me.

LOWER BODY STRENGTH

There is always benefit in working on lower body strength and this is a great opportunity for me to focus on balance and unilateral strength since heavy weights are not an option.

CARDIO

Since running is not an option, I will continue to walk on the streets with hubby, but will also work on treadmill hills to increase the intensity of my walks. I think I should be able to do it without much arm motion. I will let you know how it goes. 

I know I can't push recovery any more than I could push progression, but I am hoping to be able to run again by the end of September. I am running the rock 'n' roll half marathon in Vegas in November and I will need the time to get back up to speed with my training. We'll see how it goes.

Next week for workout Wednesday, I will break out the BOSU ball to show you some fantastic effective balance and stability exercises. Despite my injury, I am looking forward to rebuilding and coming back stronger than ever. 

Have you ever felt my pain? Wish me well in the comments. Stay tuned next week for some fun on the BOSU ball.

Like this post? Please consider sharing.


Coach Lea

I am a NASM personal trainer and RRCA adult distance running coach that specializes in strength training for runners. I offer in-person training in the Shredshed, online training and Fit to Run bootcamps. If you are interested in a more in-depth running or strength training plan, please contact me. Have questions? I'd love to help. 

While I am a certified personal trainer, I am not your personal trainer. Since I don't know your exercise abilities, injury background or medical history, please see your doctor before beginning any new exercise program.


Running A-Z: P is for Pacing How to Find Your Perfect Running Pace

Hi, friends. Welcome to another edition of Running A to Z. Each week I cover a running related topic following the order of the alphabet. This week we are on letter P. P is for pacing, how to find your perfect running pace. If you missed any Running A-Z posts you can catch up on letters A-O in the archives

Pace seems like something you shouldn't have to think about. Strap on your shoes and hit the streets. The average time it takes you to move through each mile is your pace. But in order to run most efficiently you don't want to start off too fast for your abilities or your goals. It's the biggest mistake I see in new runners. It not only makes for a poor running experience, but you risk burnout and injury. So how do you find your perfect pace? You'll need to determine the appropriate pace for easy runs and for speed work. 

P is for Pacing

P is for Pacing


CONVERSATIONAL PACE

I am a big fan of running according to how you feel because you don't need any fancy equipment like a GPS watch or treadmill. You run by feel, your rate of perceived exertion (chart below) and the talk test. Conversational pace is exactly what it sounds like, it's the pace you can maintain while holding a conversation without pausing to gasp for air between words or sentences. On the RPE chart (below) this would be between a 4-6 on a scale from 1-10.

RPE = Rate perceived exertion

RPE = Rate perceived exertion

As a running coach I recommend that most of your runs (especially your long runs) should be at this pace. There is room for speed work and hard workouts in the week, but you have to give your body adequate time (usually 48 hours, but depends on the athlete) to recover in between hard sessions. Run easy enough on easy days to allow your body to recover. 

5K PACE

A lot of runners want to train to run faster. Some training plans that are designed to increase speed are based on your current 5K pace. The example below is adapted from the RRCA Pace Chart developed by Amby Burfoot (www.ambyburfoot.com). The chart gives you the appropriate pace to run different types of speed workouts based on your current fitness level (your 5K time). For example, if you currently run a 5K in 29 minutes (or a 9:21 pace) then your tempo pace should be 9:49, your long interval pace 9:10 and your short interval pace 8:25. If you try to run faster you could risk injury. It is important to reiterate that the 5K pace on the chart is your current pace, not your desired pace. If you currently run a 5K in 33 minutes but want to improve your time to 29 minutes, you would follow the paces on the first line, not the middle line. You always train to your current fitness level, not your desired level. Once your 5K time improves you can then increase your speed workout paces.

5K PACE 5K TIME EASY & LONG RUN PACE TEMPO PACE LONG INTERVAL PACE SHORT INTERVAL PACE
10:48 33:30 13:24 11:20 10:35 9:43
9:21 29:00 11:36 9:49 9:10 8:25
8:13 25:30 10:22 8:43 8:03 7:24

The best way to determine your 5K pace is to run a 5K. If you never ran an organized 5K race, you can map out a 3.1 mile course on the street (choose a flat route), on a track or on a treadmill. Run your 5K at a comfortably hard pace, about a 7 on the RPE chart. You should be working hard but not an all-out effort (because you won't be able to maintain it for three miles). 

If you would like help with a running plan, I can put together a workout schedule for you that safety and systematically increases distance and speed over time based on your current fitness abilities. Check out my run coaching services for more details. 

The main lessons to learn are to run your easy runs at conversational pace and run your speed workouts based on your current fitness levels, not your desired fitness level. If you train at the correct paces and master these two concepts you'll run longer and faster with little risk of injury or overtraining. 

Any questions about pacing? I'd love to help. Let me know in the comments. 

Like this post? It helps me when you share!


Coach Lea

I am a NASM personal trainer and RRCA adult distance running coach that specializes in strength training for runners. I offer in-person training in the Shredshed, online training and Fit to Run bootcamps. If you are interested in a more in-depth running or strength training plan, please contact me. Have questions? I'd love to help. 

While I am a certified personal trainer, I am not your personal trainer. Since I don't know your exercise abilities, injury background or medical history, please see your doctor before beginning any new exercise program.

How to Tie Your Running Shoes for Ankle Support and Blister

Hi, Friends! Today I have a quick video on how to tie your running shoes. I know what you might be thinking...

"Geez, Lea, I may not be an expert in running, but I've been tying my shoes since I was three; I think I have that part covered."

Stay with me. I will show you how to tie your running shoes for better ankle support and to avoid blisters. This technique is called a "heel lock."

How to tie your running shoes for better ankle support and blister prevention

How to tie your running shoes for better ankle support and blister prevention

Ever wonder what that extra hole is for on your running shoes? Watch my short video for an explanation and demonstration on how to tie your running shoes. Watch for a special appearance by the beloved internet sensation, Ollie!

Try it out and let me know how it works for you!

Any questions? Let me know in the comments.

LIke this post? It helps me when you share!
 

Body Weight Boot Camp: Rep Pyramid Workout

Welcome to the latest edition of workout Wednesday! I am excited to share a great rep-based pyramid workout for you today. This is a high intensity full body workout that you can do anywhere with no equipment. 

Ready to get started? Always warm up before beginning an intense workout. 

CIRCUIT #1: LOWER BODY STRENGTH & CARDIO

The first circuit is a lower body strength and cardio workout. You will perform 10 squats immediately followed by 1 rep of high knees (right up, left up = 1 rep). Without resting, perform 9 squats and 2 high knees, followed by 8 squats and 3 high knees and so on until you reach one squat and 10 high knees. Rest for at least one minute or until you are recovered before moving on the next circuit. 

Squat: Starting with your feet hip width apart, your toes pointing forward and your back straight, push your hips back and lower your body until your thighs are parallel to the floor (or as low as your flexibility allows) like you are sitting in a chair. In the low position engage your core, squeeze your glutes and push up to standing while putting your weight into your heels. 

High Knees: Stand up straight with the feet hip width apart. Jump from one foot to the other while using your core to lift your knee to hip height. Swing your arms with each rep. Touch the ground with the balls of your feet quickly moving back and forth between legs.

CIRCUIT #2: UPPER BODY STRENGTH & CARDIO

The second circuit follows the same format as the first. Start with 10 push ups followed by 1 mountain climber (right leg in, left leg in = 1 rep). Then move on to 9 push ups and 2 mountain climbers, 8 push ups and 3 mountain climbers until you reach 1 push up and 10 mountain climbers. Rest until recovered.

Pushups: Start in a high plank position with your hands placed directly under your shoulders. Keeping your body in a straight line, while engaging your core bend your elbows to slowly lower your chest to the floor. Once in the low position, push back up to the starting position. If this is too challenging, drop to your knees. 

Mountain Climbers: Start in a straight arm plank position with shoulders directly over wrists. Step one foot up in line with hip, then step back to plank position then repeat with opposite foot. This is one rep. Move as quickly as possible while keeping your core engaged and back straight.

CIRCUIT #3: CORE 

Let's start the second half of the workout with some core work that includes your abs and glutes. Start with 10 bridge marches (right leg, left leg = 1 rep) followed by 1 crunch. Follow the rep pyramid until you reach 1 bridge march and 10 crunches. Rest until recovered before moving on to the last circuit.

Bridge Marches: Lie on your back with your knees bent 90 degrees and lift your hips off the floor to form a straight line from your knees to your shoulders. With your hips off the floor bring your knees in towards your chest one at a time to march. March on the right leg then left leg equals one rep. 

Crunches: Lying on your back push your lower back into the floor, place your hands behind your head (do not pull) and lift your shoulders and chest up off the floor into a crunch. Pause for 1 second in top position while engaging your entire core before lowering back to the ground. 

CIRCUIT #4: CORE

Last but not least we have bird dogs and supermans for core work that includes abs, glutes and lower back. Start with 10 bird dogs (right arm and left leg extended hold for 1 second then switch sides = 1 rep) followed by 1 superman. Follow the rep pyramid until you reach 1 bird dog and 10 supermans.

Bird Dogs: On all fours with your wrists directly underneath your shoulders lift one arm off the floor to shoulder height while lifting the opposite leg in line with the hip. Hold for one second and switch sides. 

Supermans: Lying face down on the floor with your arms extended in front of you, raise your arms, chest and thighs off of the floor and hold for one second. Slowly lower your arms, legs and chest back down to the starting position.

Cool down and stretch after completing the workout.

Try it out and let me know how it goes.

LIke this post? It helps me a lot when you share!

Coach Lea

I am a NASM personal trainer and RRCA adult distance running coach that specializes in strength training for runners. I offer in-person training in the Shredshed, online training and Fit to Run boot camps. If you are interested in a more in-depth running or strength training plan please contact me. Have questions? I'd love to help. 

While I am a certified personal trainer, I am not your personal trainer. Since I don't know your exercise abilities, injury background or medical history, please see your doctor before beginning any new exercise program.