Pain vs. Discomfort: Know the Difference to Avoid Exercise Injury

You hear about pain all the time in fitness.

"No Pain No Gain." 
"Pain is Weakness Leaving the Body"
"Pain is Temporary, Glory is Eternal."
"Pain is temporary, Quitting Lasts Forever."

or my favorite:

"Pain is Temporary, Your Half Marathon Finish Time is on the Internet Forever." (hah.)

Not so fast.

These popular quotes about pain send mixed signals because I believe these quotes are referencing "discomfort" not literal pain. It's just that "No Discomfort, No Pain" doesn't have the same ring. So what's the difference between discomfort and pain? It's important to know. 

I went to the physical therapist for my shoulder a few years ago and I remember the PT telling me to alert her if I felt pain during our exercises. She was very careful to explain the difference between discomfort and pain because a lot of people confuse the two. Discomfort is OK and natural, pain is signalling a larger problem.

When we feel pain it is our body's way of telling us something is wrong. We must not ignore pain signals or try push through them. Pushing through pain could lead to long-term injury, which could leave you sidelined for months on end. 

Pain is usually a sharp or stabbing feeling in a specific area, numbness or radiating. If you experience pain or swelling stop what you are doing immediately and allow your body to rest and recover until the pain subsides. Consider seeing a doctor if the pain persists for more than a week or two even after resting.

Discomfort is feeling that something is difficult or challenging. It can be a burning sensation in your muscles or breathing heavily. It might mean fatigued or heavy legs when running. It might mean mental exhaustion or even muscle soreness in the days following a hard workout. These are all relatively normal reactions to exercise and in most cases you should try to build mental and physical toughness by powering through these uncomfortable feelings. "Discomfort is temporary, Glory is Eternal" Sounds more like it. 

My favorite saying is "If it doesn't challenge you, it doesn't change you." you have to stress the body in order to change it, but feeling pain is not our goal, pushing outside our comfort zone is our goal. We want to challenge ourselves, not kill or hurt ourselves through exercise. It seems like common sense, but like my hubby likes to say "Common sense is not so common."

Common sense is not so common.
— Hubby


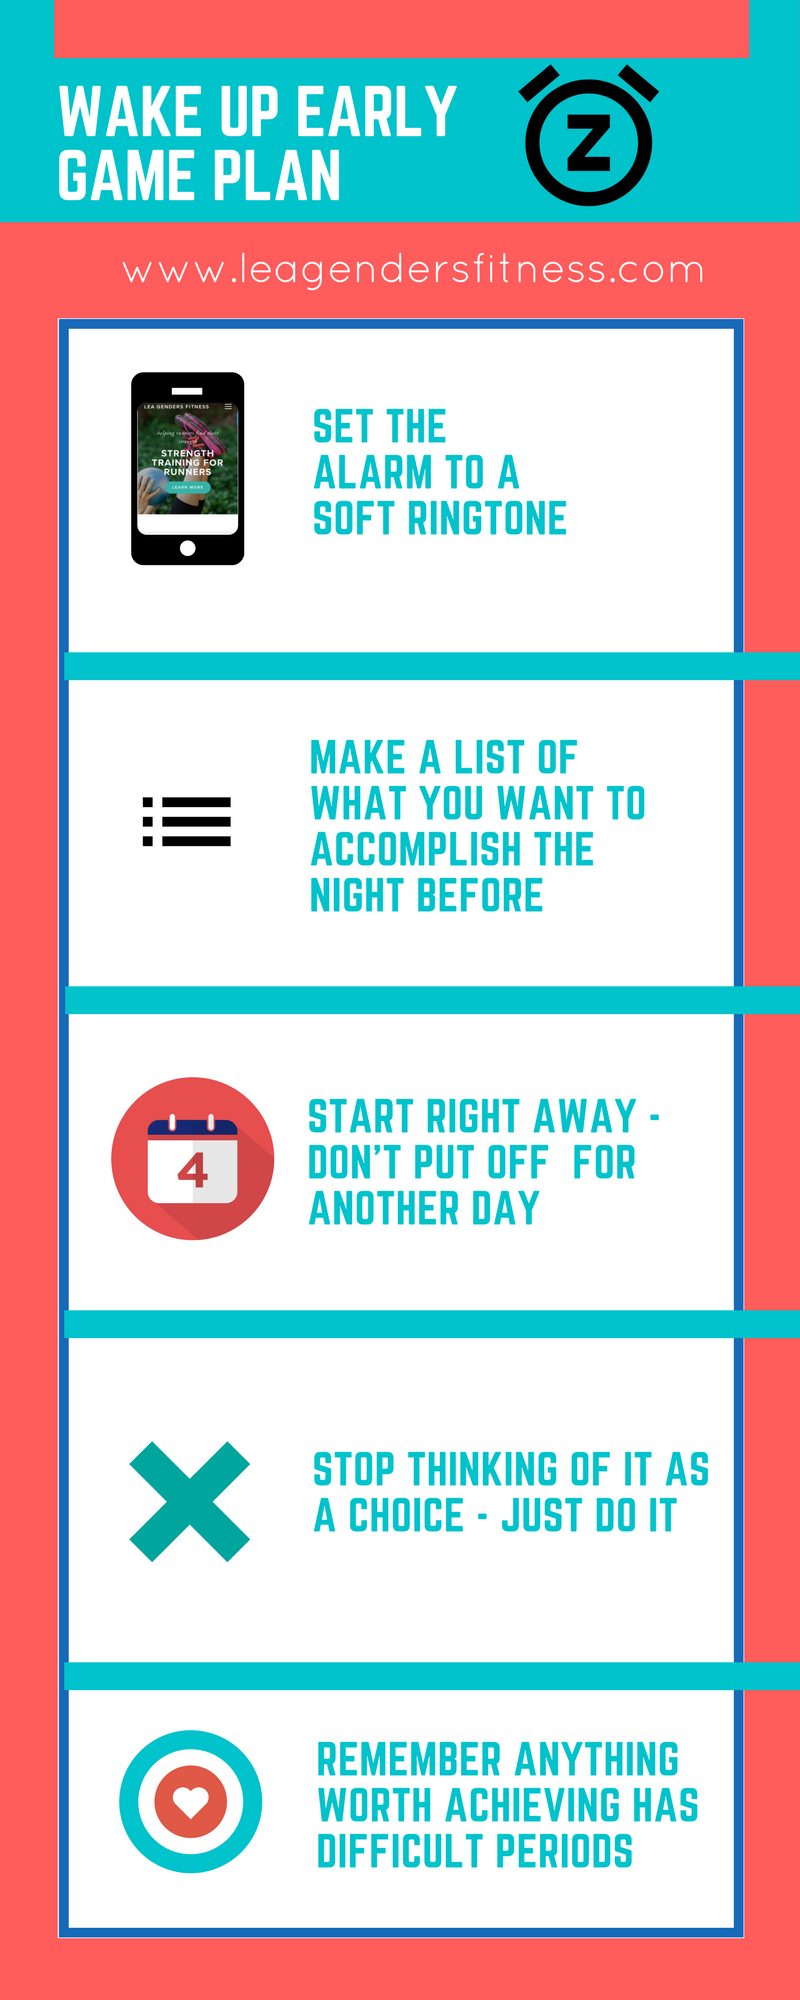
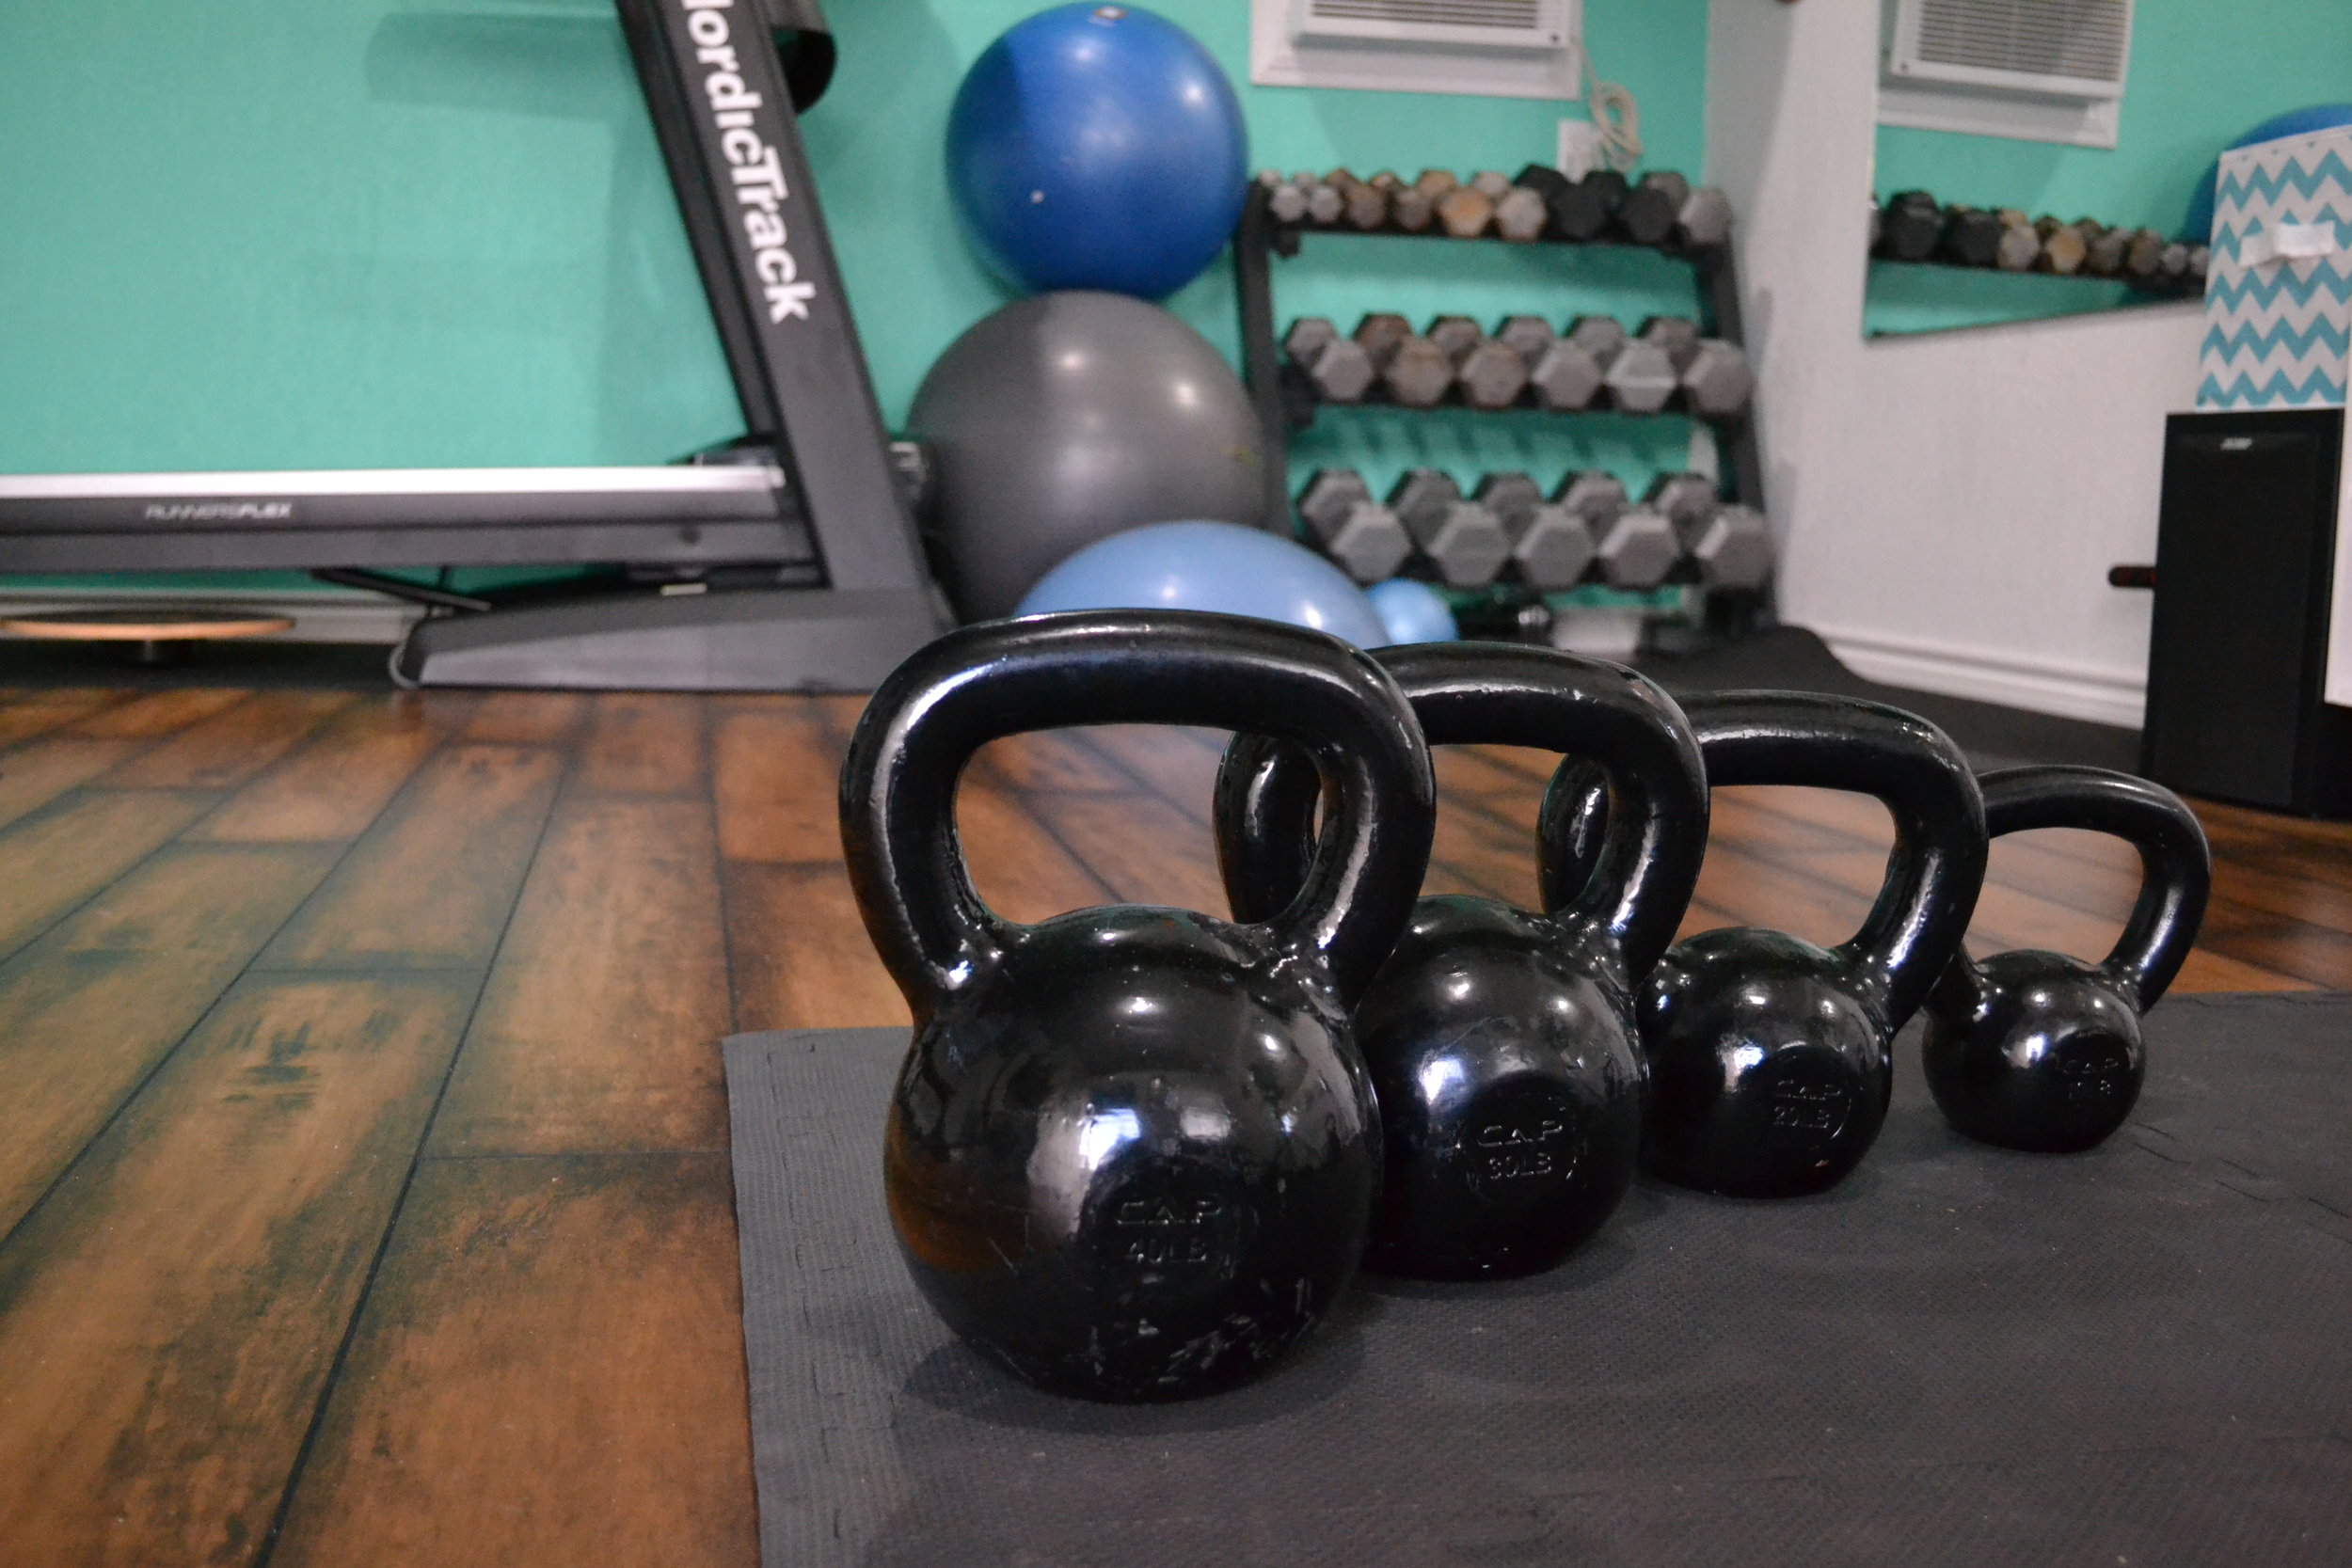
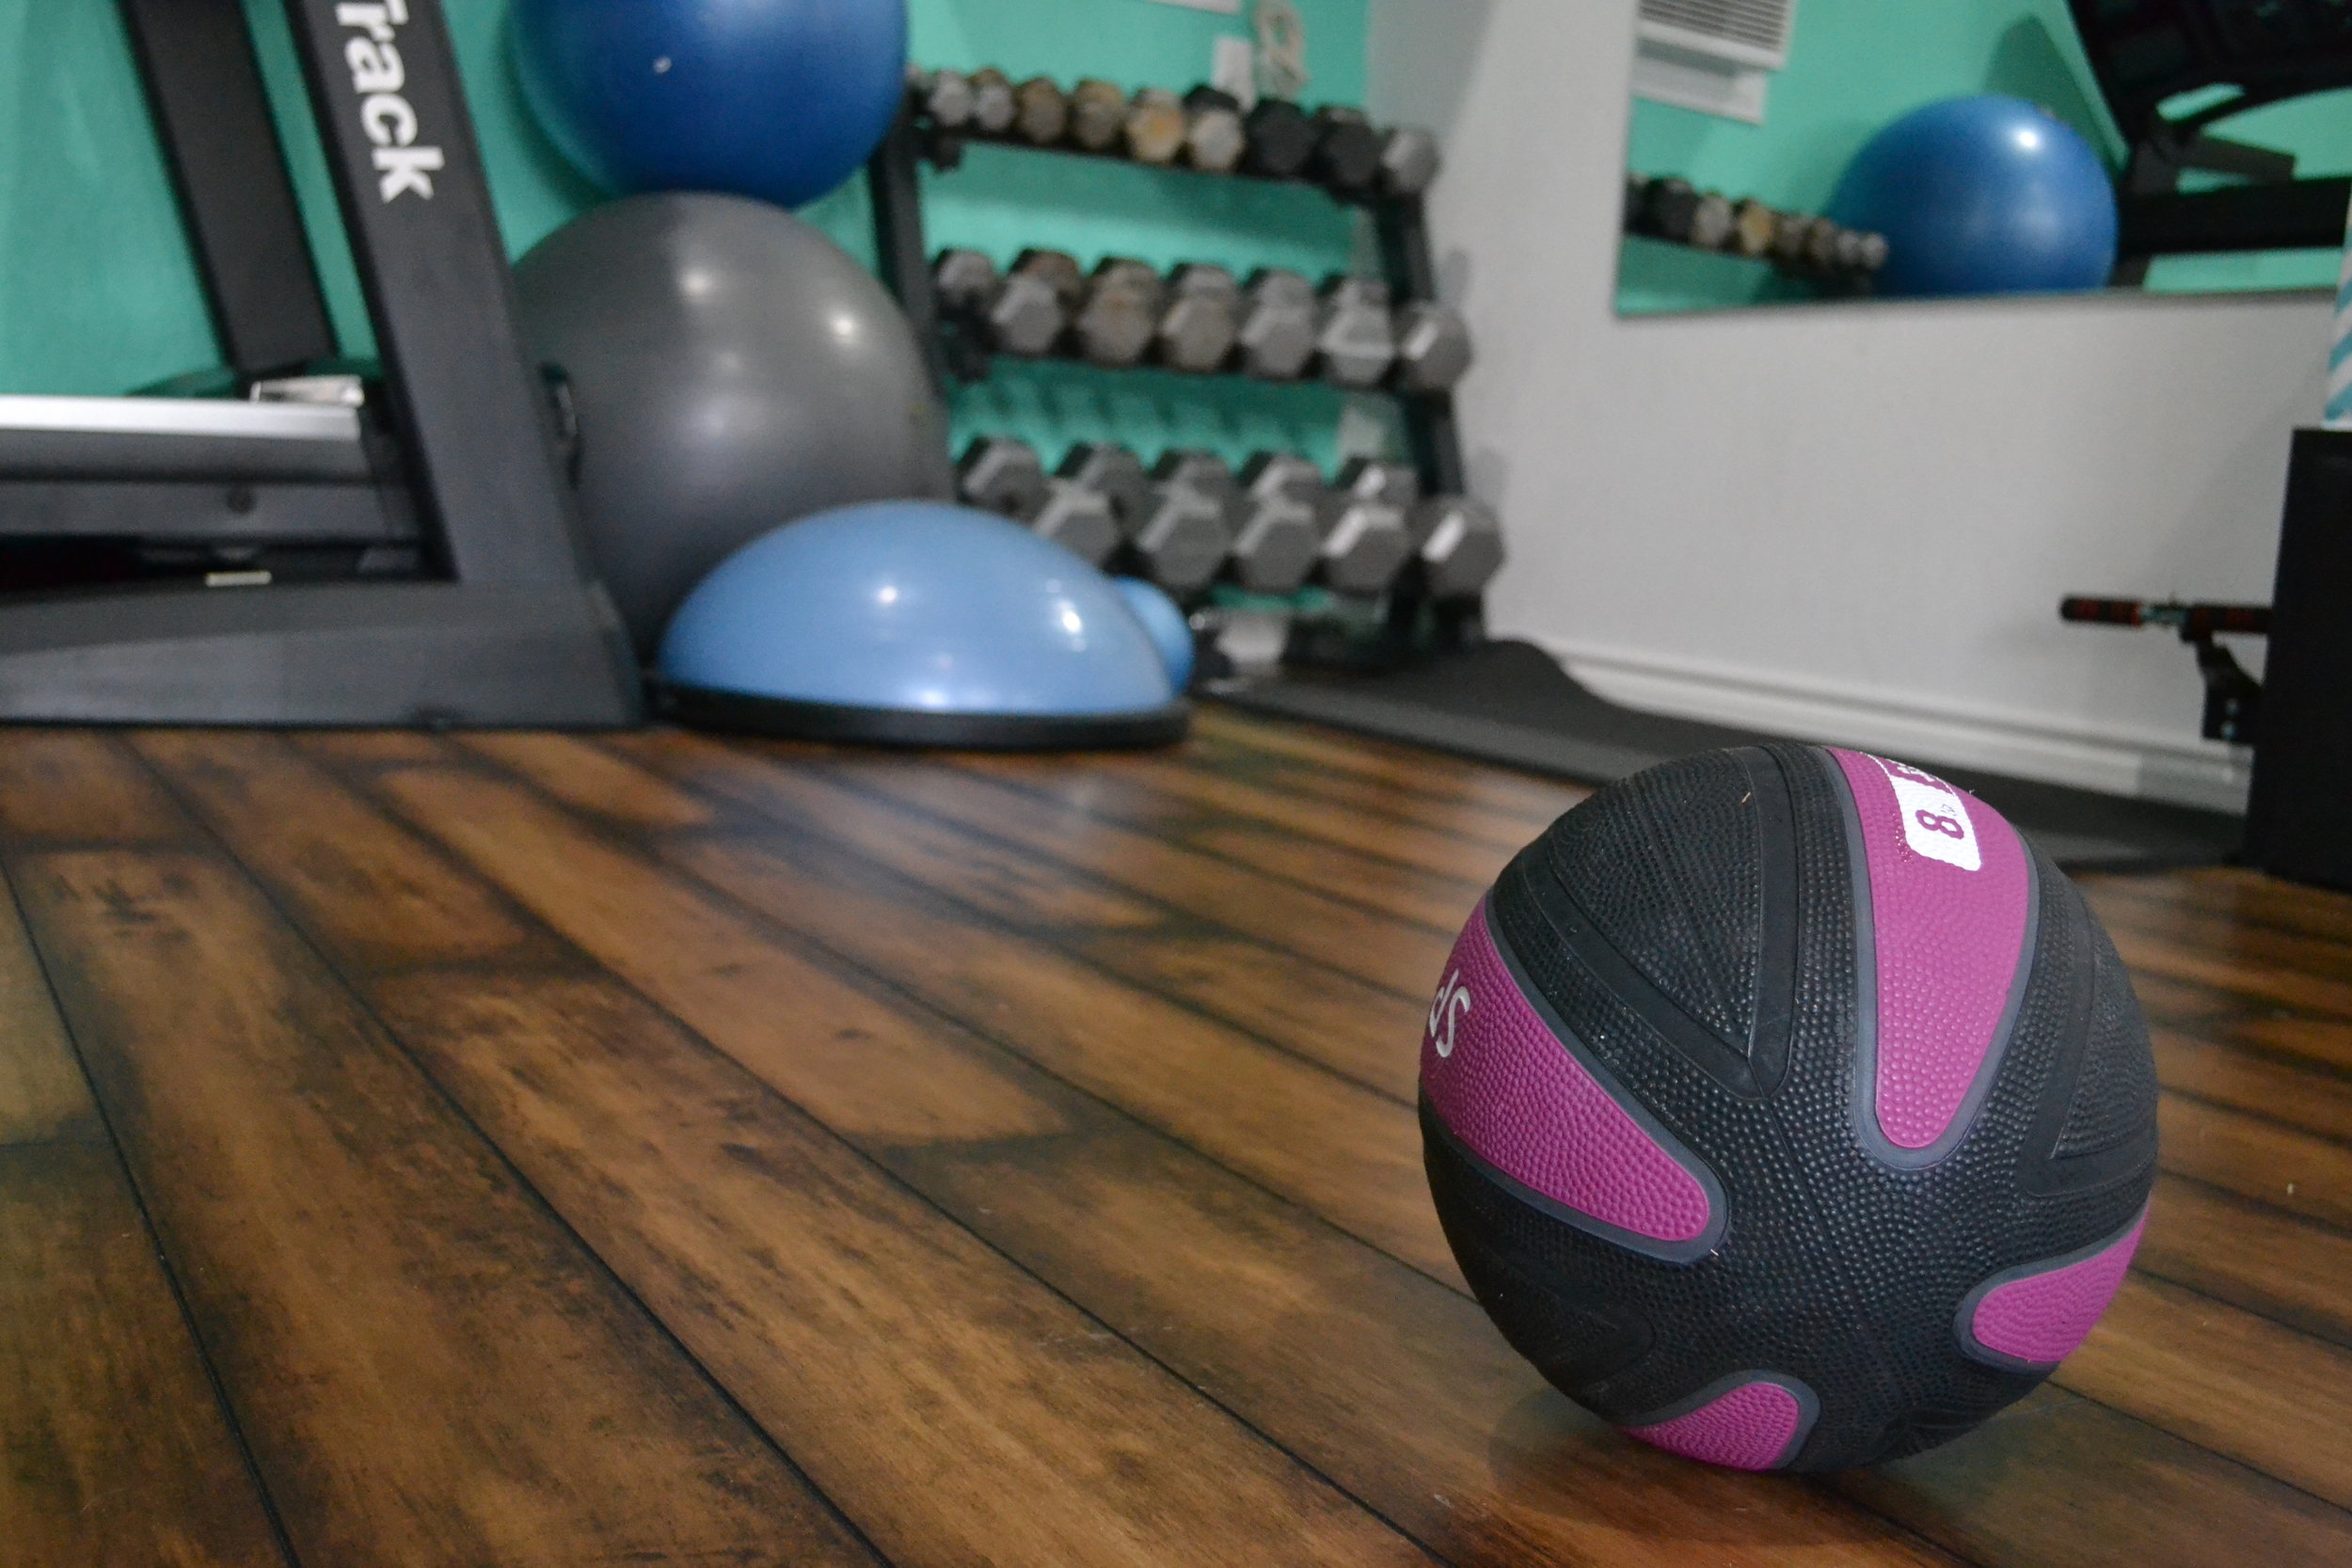
The fitness industry glorifies hard workouts. Go hard or go home. People want to get crushed every session or they feel like they didn't get a good workout. It's simply not true. We are best served when we alternate between high intensity, low intensity and rest days. Those low intensity days allow our bodies to recover. Yoga, stretching, jogging, walking, flexibility and balance training are all low-intensity workouts that make us stronger overall athletes and should not be ignored or underestimated. A balanced schedule of high and low intensity workouts will keep you feeling strong, healthy and help avoid injuries. One or two high intensity workouts a week should suffice for most athletes. 

Exercise should not cause pain. If you feel pain, it means you should back off and allow your body to recover. If you start a new exercise plan, progress slowly, increasing the duration and intensity over time. Once you adapt to a certain exercise you can continue to progress by making it harder as you get stronger. Sound confusing? Need help putting together a progressive exercise plan to reach your goals? I can help

Like this post? Please consider sharing.


30 DAY PLANK CHALLENGE

Welcome to the latest edition of workout Wednesday! Each week I share a strength training or running workout to keep you motivated. This week we are talking planks. I put together this plank challenge for beginners to progress you to a one minute plank or more in 30 days! Are you ready? 

Planks are my favorite core exercise because they engage all major core muscle groups including the transverse abdominus, the rectus abdominus, the external oblique muscle and the glutes. Do your planks regularly to improve core strength. Great for runners!

Beginners: Follow the plan as shown. Alternate between the plank exercises every day. For example: Day 1 you will do a 20 second straight arm plank, day 2 a 20 second elbow plank and and day 3 a 20 second side plank (on each side), day 4 back to straight arm plank for 30 seconds and so on according to the schedule. 

If you can't hold for 20 seconds without rest, hold for as long as you, then add 5 to 10 seconds every 3 days. Progress at your own speed. 

Advanced: Perform all three exercises every day.

STRAIGHT ARM PLANK

In a high plank position position your shoulders directly over your wrists. Your body should form a straight line from your heels to your head. Do not allow your hips to sag down or raise up in the air. Engage your abs and breathe normally.

ELBOW PLANK

Begin in a low forearm plank position. Position your elbows on the floor with your hands flat on the floor and your shoulders directly over your elbows. Do not clasp your hands in front of you. Your body should be in a straight line parallel to the floor. Engage your core, pulling your belly while breathing normally. Be careful not to sink your hips or raise your butt in the air. 

SIDE PLANK (EACH SIDE) 

With a straight arm lift yourself up into a side plank position. Your shoulders should be directly over your wrists. Stack your feet and don't allow your hips to drop. 

If a straight arm side plank is too challenging, start on your elbow.

Like this post? It helps me when you share!
 

52 Healthy Weeks: Week 2 and I FAILED!

I have to eat my words. This is what I said last week when I told you about week 1 of my 52 healthy habits.

I know that when I write here that I am going to get up at 5:30 and that alarm goes off at the crack of dark thirty, I’ll have some accountability to not turn off my alarm clock and go back to bed, because I really don’t want to write a post next week telling you that I failed. See how that works? I just created some accountability.
— http://www.leagendersfitness.com/news/2017/1/16/52-healthy-habits-week-1-early-to-rise

My week 1 goal was to get up at 5:30am to work on my blog, business or to workout. I know getting up at 5:30 is always hard for me in the beginning. In retrospect, I probably should have started week 1 with something easier in order to build confidence before tackling the hard things. Here is how it went. My internal dialogue:

Monday:

Alarm at 5:30. "Ah, I can go back to bed this morning. I have all week to make it happen. Nothing wrong with having to report that I got off to a slow start on Monday and then kicked ass the rest of the week." Back to bed.

Tuesday:

Alarm at 5:30am. "It is still early in the week. I'll get up tomorrow morning for sure." Back to bed.

Wednesday:

I accidently changed my alarm sound on my phone to something softer and much less annoying than the typical iPhone ringtone. I think this helps as not to so abruptly jolt me out of a deep sleep. It was a happy accident.

I had some blog work that I needed to get done and I got up to finish it. Hubby and I took Ollie for a walk early in the morning and I got so much work done towards my goals. When I was driving to work I had that "runner's high" feeling of euphoria, even though I didn't even run. "Getting up early rocks. I am going to do this forever!"

Thursday:

"Ugh. I don't have anything important to do. I can go back to bed today" Back to bed. Totally forgot something important. Unlike yesterday, I didn't have a clear plan on what I was going to work on in the morning

Friday:

"Why start now? I'll start over next week." Back to bed.

Saturday:

I teach bootcamp on Saturday mornings at 8am and I don't like to rush before camp. I want plenty of time to eat breakfast, make sure I have my workouts and equipment in order and drink coffee before I go. I easily got up early because I knew I had to. It wasn't a choice. 

LESSONS LEARNED:

So, I didn't do so well, but I am committed to learning from my mistakes from this past week and improving next week. Here's what I learned from my failure this week.

  • Set the alarm to a soft ringtone.
  • Have a clear plan for the morning's work. When I had specific things I wanted to accomplish on Wednesday, I got up to get them done. This week before bed I am going to write myself a to-do list for the work I want to accomplish in the morning.
  • My 'start over Monday' mindset from Friday is always something I warn my clients against. It's a trap. There is always another Monday. With this mindset you can push your goals off forever. Start today. Start now. 
  • View getting up early as something that is not a choice, but something I have to do, like on Saturday. I got up easier because I had things I wanted to accomplish and I knew sleeping in wasn't an option.

It is never fun to tell you that I failed, but it is real life and it happens to everyone, even the trainers and coaches. If you didn't quite accomplish what you wanted to last week, every day is new day to start over. 

TIME TO TAKE MY OWN ADVICE

I went to a wedding last weekend and one of the ladies at my table asked me about my blog. She said, "Oh, I wish I could run." I gave my usual advice: "You can! Most reasonably healthy people can start to learn to run. But here's the catch. It sucks at first. Like really sucks. So you have to commit to being consistent during that early hard phase. When it's hard and you can't breathe and your legs hate you, you have to do it anyway. This phase can last a few months, but if you commit to regular practice, you will eventually get past it and then running becomes enjoyable. Most people who love to run first went through that early hard phase. You just have to stay faithful in the hard times that it will get better."

Then it hit me. My advice on getting through the hard phase in running applies to everything. It applies to getting up early. Fight through the sucky-phase until it becomes a habit. It might take awhile, but I just 'do it anyway' in the beginning and it will be become routine. Time to take my own advice.

I feel prepared to tackle it again next week...and I seriously don't want to type another blog next week about how I didn't make it happen, so let's do this!

WEEK 2: TRACK CALORIES/MACROS IN MYFITNESSPAL

On to week 2. Since my week 1 habit didn't 'stick" and is still a work in progress, I am going to do something relatively easy for me for week 2. Something I know I can accomplish while I continue to work on week one. 

I am going to log my meals into MyFitnessPal. I am not a big believer in tracking every morsel that I eat for the rest of my life. It can become cumbersome and for someone like me who leans towards an 'all-or-nothing' mindset, putting too much emphasis on tracking can throw off my healthy balance if I become too attached to meeting certain numbers. With that being said, I think it is a good idea to track occasionally so I know where I stand. My meals don't drastically change from day to day or week to week, so if I log my calories for a week or two, It gives me a pretty good idea if I am on track. 

I am not looking to lose any weight, but I am experimenting with a macro-cycling program to see how it affects my body composition. For week 2 I will track my meals in MyFitnessPal every day to establish a baseline. 

What are your goals for the week?

Like this post? Please consider sharing.


Coach Lea


Build a Home Gym on any Budget

I work out at home in the #shredshed but it is not your typical home gym. We went all-out and built our ideal gym environment in a separate building on our property. Since I am a trainer, it is part home gym, part private studio. I can train clients in a studio environment without the monthly overhead. For me, spending more on building my own gym made sense. (Although I do miss the pool and sauna at the big box gym.) 

There are a lot of benefits of a home gym. You eliminate the commute so you can get your workout done faster. After an initial investment of basic equipment, you don't have to pay a monthly fee so you could save money in the long run. You never have to wait to use equipment, wipe someone else's sweat off equipment or elbow strangers in the weight room. 

I understand that not everyone has the budget or desire to spend a lot of money on their home gym, so whether you are on a shoestring budget or if money's no object, let's talk about what you'll need to build your own version of the #shredshed.

This post contains affiliate links which means If you buy from my links I make a (very) small percentage of the sale at no additional cost to you. It helps with the running (pun intended) of this blog.

THE BASICS

You don't need a lot of equipment to get started building your own home gym. Whether you make some room in your garage, clear out a spare bedroom or build a gym in your backyard, with a few basic essentials you will have everything you need to get started. You can always add on with additional equipment later. 

FLAT BENCH

An affordable simple flat bench is all you need to get started, it's what we use in the ShredShed. It doesn't take up much room and can be easily moved around and out of the way. You can upgrade by buying an adjustable bench with leg extension if you have the space. 

FREE WEIGHTS

Choose three different dumbbell weights to start. For women just starting out, I recommend 8, 10, 15 pound dumbbells. You can always add heavier weights as you get stronger. If you are already working out, purchase weights according to your current fitness level.

STABILITY BALL

A stability ball is an inexpensive way to add an unstable surface to challenge your balance and help strengthen your stabilizing muscles and joints. Check out my stability ball workout for some ideas to get started.

RESISTANCE BANDS

Resistance bands are great for when you're traveling, but also are an inexpensive way to add resistance to your workouts. Check out my resistance band workouts for some ideas to get started

EXERCISE MAT

If you are working out on hardwood or tile floors you will want to have an exercise mat for floor exercises. You could opt for a roll-up mat or a foam floor tiles.

I also recommend a timer and a foam roller

ADD VARIETY

Once you get started on your home gym, you may find you want to add a little variety to your workouts. While not a necessity, these are some nice-to-own pieces of equipment in your home gym depending on your fitness goals and abilities. 

KETTLEBELLS

Kettlebells are ideal equipment for functional training. With kettlebells you can do whole body movements in a strength and cardio workout in one. 

BARBELL

A barbell can be a great tool for building strength. The ShredShed has both a barbell with adjustable plates and a weighted exercise bar. They each can be beneficial depending on your goals.

MEDICINE BALLS

I recommend an 8 or 10 lb medicine ball to add some variety to your workout. It can be used for strength, power or stability workouts. Check out my medicine ball workout for some ideas.

BOSU BALL

The BOSU ball is a fun addition to any home gym. BOSU stands for BOth Sides Up. One side is flat plastic and the other is a half rubber dome. The BOSU ball adds an element of instability to your workouts to challenge your core. Check out my BOSU workout for some ideas.

GO ALL-OUT 

Once you have all the basics covered and added a little variety, there are a few high ticket ticket items that are nice to own if your space and budget will allow. 

SUSPENSION STRAPS (TRX)

I fell in love with my suspension straps as soon as we installed them. They use your own bodyweight as resistance and can challenge you in multiple planes of motion (especially important for runners). You can get a full-body workout incorporating the stabilizers and the core.

TREADMILL

Although I will always profess my love of running outdoors, it is very convenient to have a treadmill available for those days when the daylight or weather is not cooperating with my workout schedule. The treadmill doesn't have to be boring, I put together these boredom busting treadmill workouts to keep things interesting. 

Are you considering a home gym? Any questions? Let me know in the comments.

Like this post? Please consider sharing. 


THE "BIG GAME" FOOTBALL WORKOUT

Hi, Friends. It is Super Bowl season again but my beloved Pittsburgh Steelers aren't going to the big game this year. I was never a huge football fan growing up, but ever since I left my hometown of Pittsburgh, PA (20 years ago) I've grown to love watching my Steelers. It's my connection to home.

In our house, we joke that we cheer for the Steelers and whoever is playing the Dallas Cowboys. (Sorry Cowboys fans, you had a great season.) I drive my husband crazy asking "what just happened?" and needing him to explain the rules for the millionth time, but I like to watch the games, especially when my team is doing well. When they're not doing well it stresses me out a little. Sometimes I need to walk out of the house during the game because the tension gets too much for me. I don't handle stress well. hah. 

Even though the games I care about can stress me out, I like the sounds of football as background noise. Hearing the announcer's voices and the cheers from the crowds is soothing and relaxing to me, no matter what game is on. I think it is because growing up in Pittsburgh all family gatherings and holidays had a backdrop of football and even though I didn't like to watch football back then, I think I associate the sounds on the TV with the good 'ol days. I guess that's what happens when you grow up in a football town. You get sentimental for football.

I put together a BIG GAME workout that you can do during the Super Bowl. It's a fun way to get active and engaged in the game so you're not just sitting on your butt for three hours. Just be careful not to spill your beer. Just kidding. See if you can get your game watching buddies in on the fun. 


FIRST DOWN

Any time a team gets a first down then you perform 10 squats

PENALTY

One pushup for every penalty yard. 5 yard penalty = 5 pushups

FIELD GOAL

Field goal is worth three points, so let's do three lunges on each leg for every field goal

INTERCEPTION

If there is an interception, pull up a dining room chair (or edge of the couch) and perform 15 chair dips OR as an alternative perform the player's jersey number of jumping jacks. Example: Antonio Brown intercepts the ball, you do 84 jumping jacks. 

TOUCHDOWN

Touchdown is 6 points, so we will do 6 burpees for every touchdown

EXTRA POINT

One minute plank if they kick the extra point or two minutes of jumping jacks if going for two

Let me know how it goes! Who are you rooting for?

Have fun, friends!

Like this post? It helps me when you share or save to Pinterest.