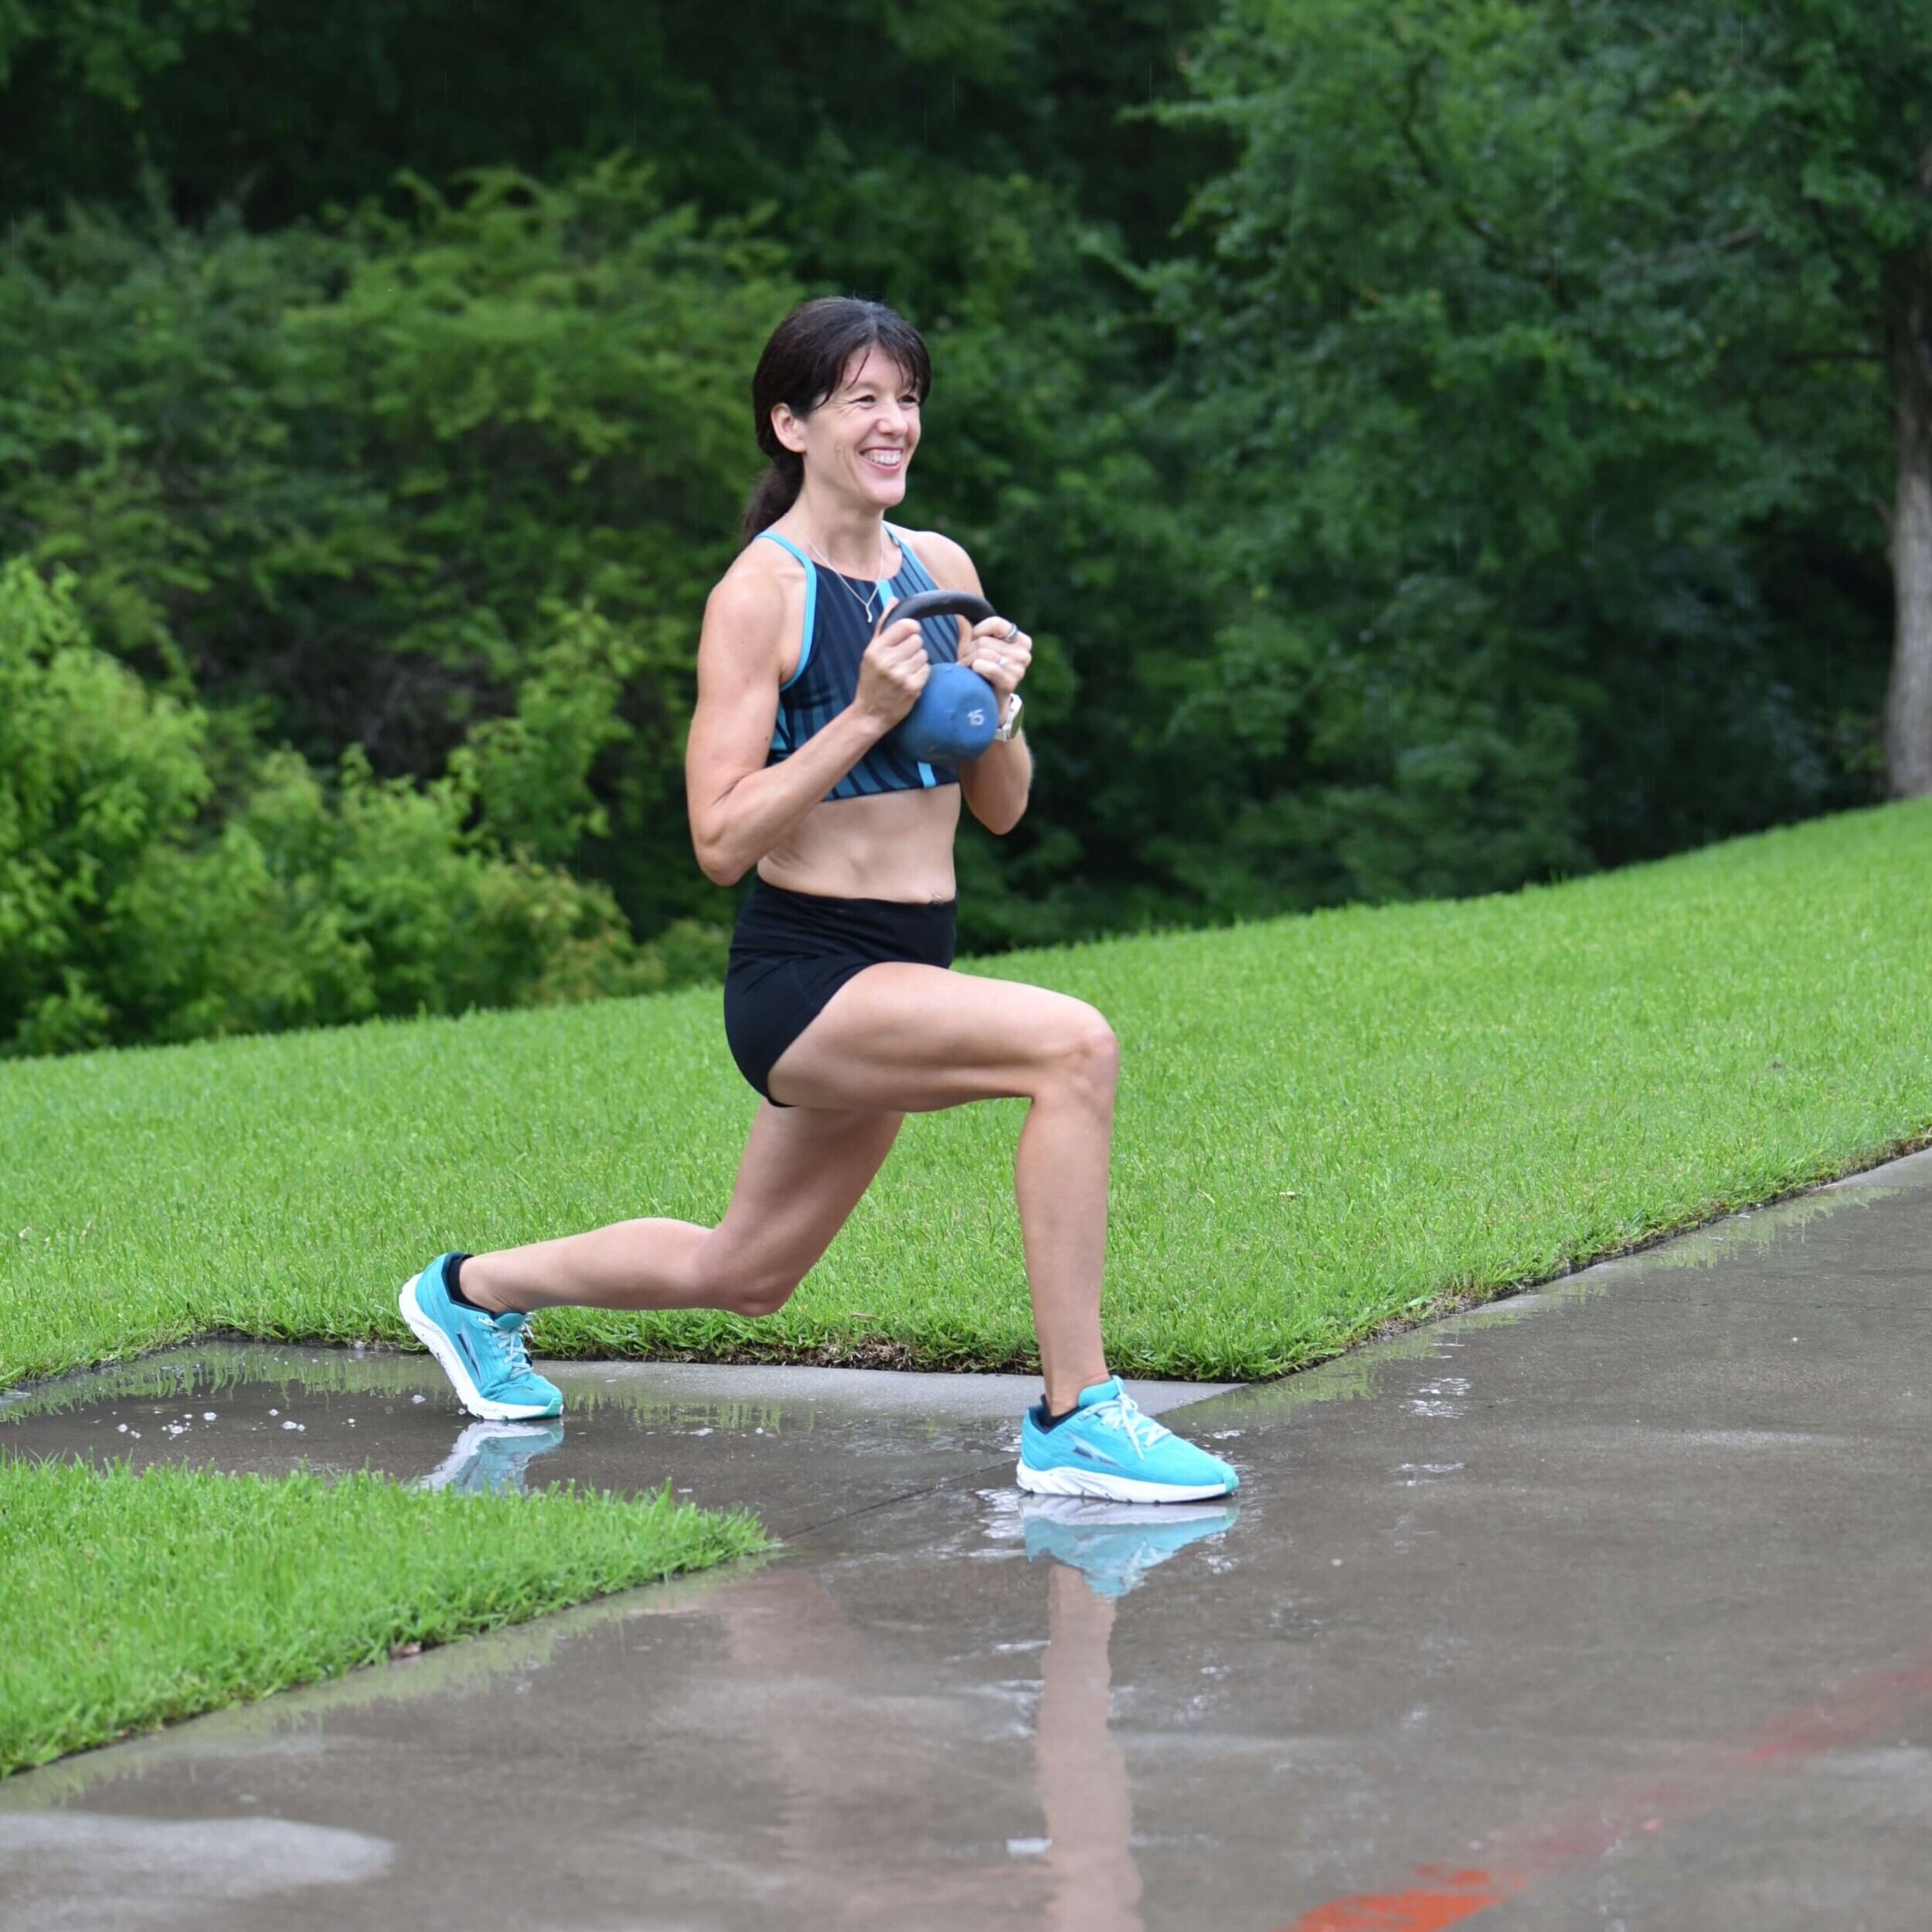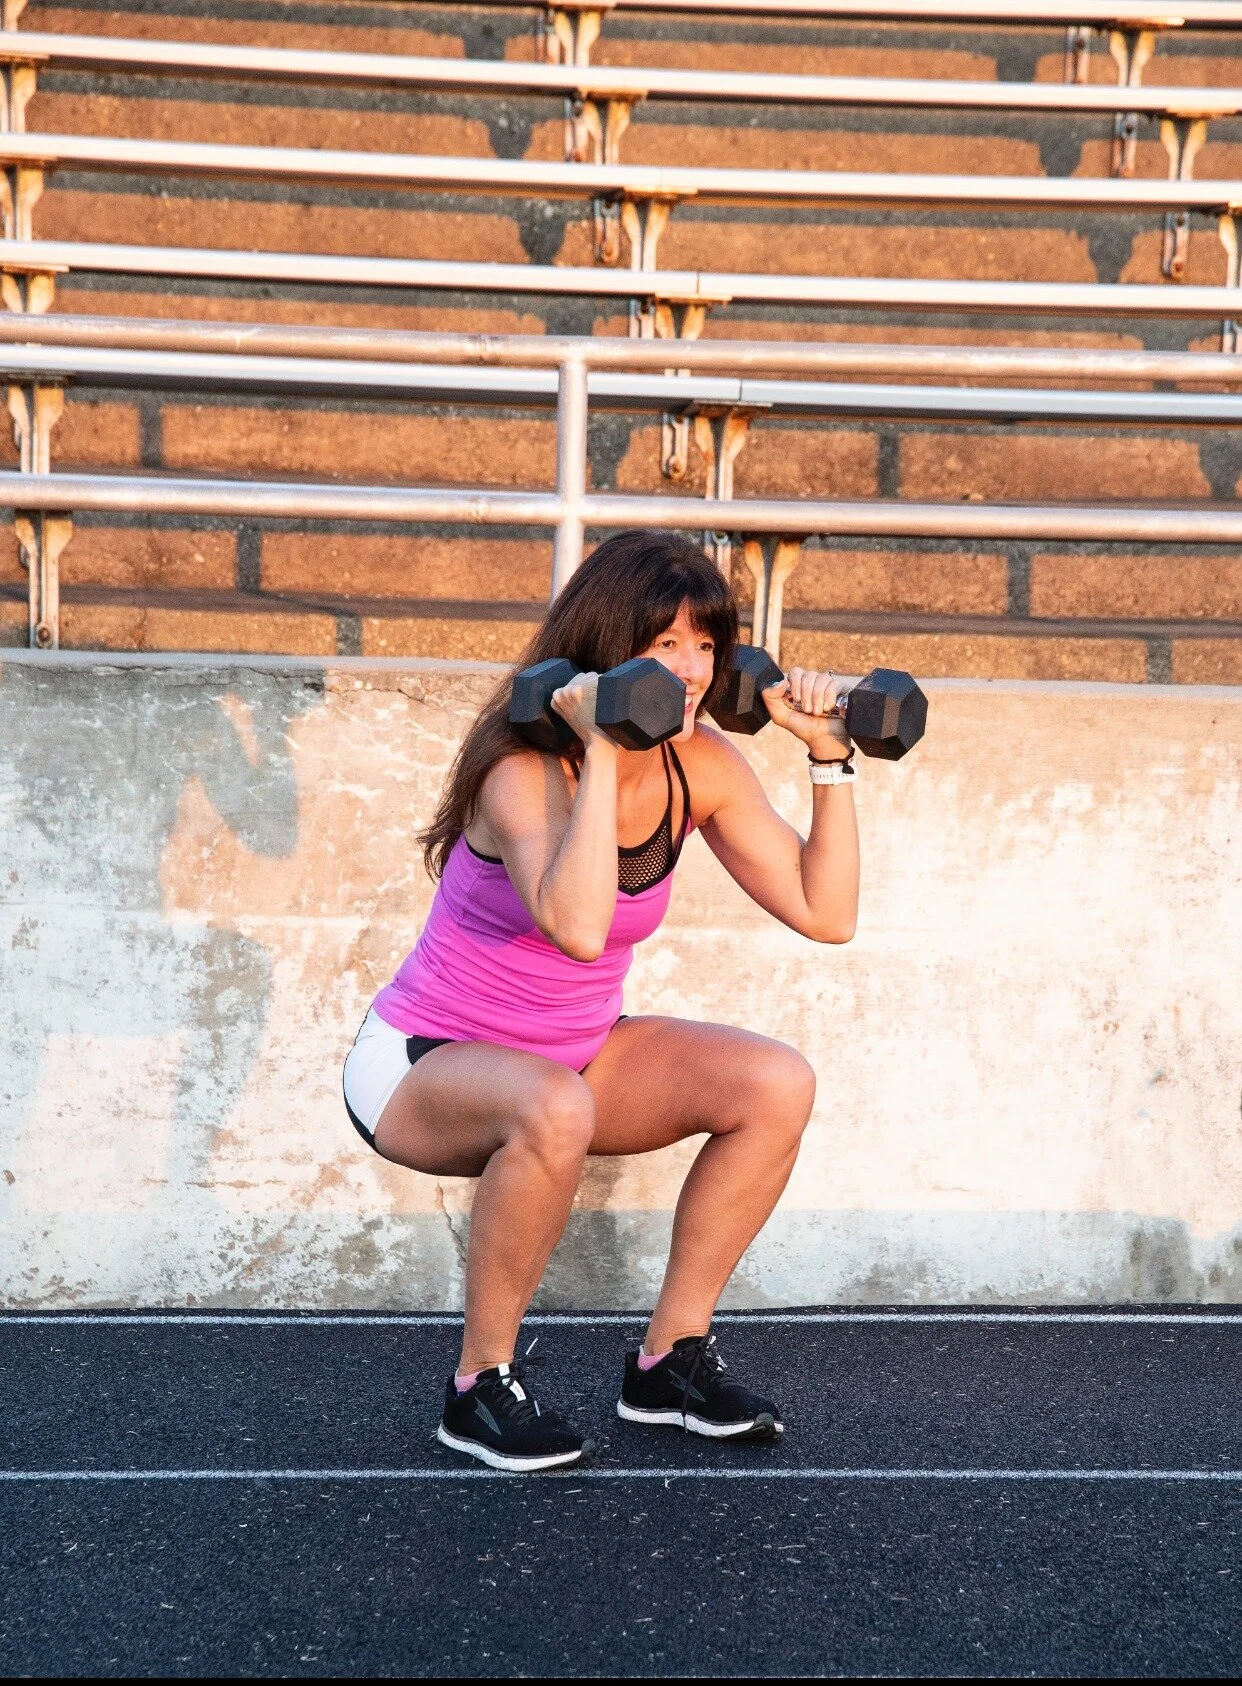
It's workout Wednesday and today we are talking lunge variations. With this 'round the world lunge workout you can hit your lunges from all angles. This workout is a great finisher after a run.
I love the lunge because it works several major muscle groups at once. It targets big muscle groups including the glutes, hamstrings and quadriceps. Your abdominal, back and calf muscles act as stabilizers during this exercise. A lunge is great for challenging balance and stability. Exercises like the lunge that work unilaterally (one leg at a time) are ideal for runners, since while we run we transfer our body weight on one leg at a time.
This workout is structured Tabata-style, that means that you do 20 seconds of reps followed by 10 seconds of rest for 8 rounds, which equals four minutes. It is a great workout for people (I'm looking at you runners) who do not have a lot of time to get in their strength training. You could go for a run and finish it with this great four minute lunge circuit (or repeat 3 times with a one minute rest between rounds for a total of 15 minutes). Change up the exercises after each run and sneak in a full body workout each week at only four minutes at a time.
Round the World Lunges
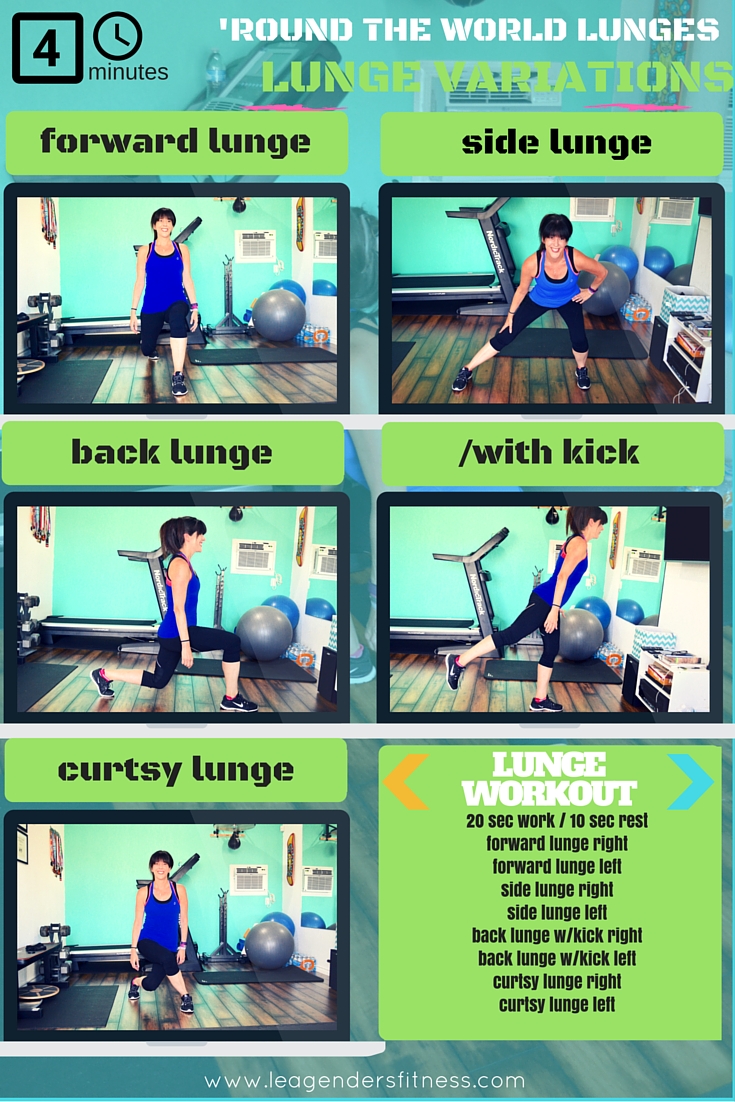
FORWARD LUNGE
With your feet hip width apart and your toes pointed straight ahead, engage your core and keep your back straight. Take one large step with your right leg to lunge forward until your front knee is lined up over your ankle and your back knee is nearly touching the floor. Do not allow your knee to move forward over your toes. Resist the urge to lean forward or rest your arms on your thighs. Once you are in the lunge position push back up to starting position. Repeat for 20 seconds on the right leg, rest for 10 seconds, then repeat on the left leg for 20 seconds.

SIDE LUNGE
With both toes pointing forward, push your hips back and take a large step to your right and bend your right knee into a side lunge position and straighten your left leg. Do not allow your knees to move forward past your toes. Lower your hips as low as your flexibility will allow. Push back to starting position and repeat on the right side for 20 seconds before resting for 10 seconds, then moving onto the left side.

BACK LUNGE
With your feet hip width apart and your toes pointing straight ahead, take a large step backward with your right leg, so your right knee almost touches the floor and your left leg lunges at a 90 degree angle. Do not allow your left knee to move forward past your toe. Push back up to starting position. Once in starting position, kick your right leg straight out behind you. Repeat for 20 seconds, rest for 10 seconds, then change sides.


kick your leg straight out behind you once you return to the starting position.
CURTSY LUNGE
Stand with your feet hip apart. Cross your right leg behind the body and to the left. Bend left knee 90 degrees, or as low your flexibility will allow, toes pointing forward, then return to starting position. Repeat for 20 seconds on one side. Rest for 10 seconds before moving on to the other side.

Give it a try and let me know how it goes. Stay tuned for more workouts that you add to the end of your run.
It is important to remember that while I am a personal trainer, I am not your personal trainer that knows your medical background and exercise abilities. Please consult a medical professional before beginning any new exercise program.
Like this article? Please consider sharing.