For workout Wednesday I have some bad news to share. I'm not perfect! Gasp! Shocking! I know.
It happens to the best of us. I got injured. I know I talk a lot about injury prevention for runners here, but this wasn’t a running injury…but it is preventing me from running. If you’ve even been injured, you know it sucks.

I was working really hard on my pushups. I was progressing quickly. I was feeling so great and confident about it that I pushed my progression too quickly. I know better. Slow progression should always be the goal, but I got overconfident and pushed too far. I pulled a muscle.
This is real life and I am far from perfect. I made a mistake by pushing myself too hard but I was ready to take corrective action. After I realized I did some damage I immediately stopped lifting any weights. You don’t get better by pushing through, you get better by resting. After I hurt my arm, I started running more than usual. I still wanted to workout and instead of dwelling on what I couldn’t do, I decided to focus on what I could do. Besides I love to run, I didn’t think twice about it.
But time had passed and it wasn’t getting any better, in fact, it seemed to be growing worse. My shoulders felt sore and tight all the time and that pain in my arm wasn’t going away. It occurred to me one day after a six mile morning run when I was in a lot of pain that the arm swinging motion from running was making the problem worse. If I was going to get better then I needed to rest it. Really rest it and that means no running.
I spent about a week feeling sorry myself and not doing anything but my bare minimum goal of 10K steps day (which, by the way, is a lot harder when you don’t run). It's time to get over it. I decided that this is a great opportunity to get back to the basics.
“I will focus on what I can do, not what I can’t do.”
What does that mean when you can’t lift weights or run? It means focusing on lower body, core exercises, balance, mobility and flexibility. It is a great opportunity to return to the basics and rebuild a strong foundation while my arm and shoulder heels.
It will be frustrating to eliminate weights even from my lower body exercises. Lifting a water bottle with my left arm hurts so I have to be careful not to put any unnecessary pressure on it. Even holding a weight while performing lunges or squats will be too much. I am mentally prepared that this will feel like a giant physical step backwards, but to stay positive as to how consistent work on the basics will propel me forward in the future.
I am breaking out the BOSU ball to work on balance, foam rolling to work on mobility and flexibility and bodyweight exercises for hip, ab and glute strength.
Who knows? Maybe this was a good thing. It is forcing me to take a step back and rebuild my foundation. Once my base is strong and balanced again and my arm is fully healed, and I will be in a better position to get stronger than ever.
Stay positive, right?
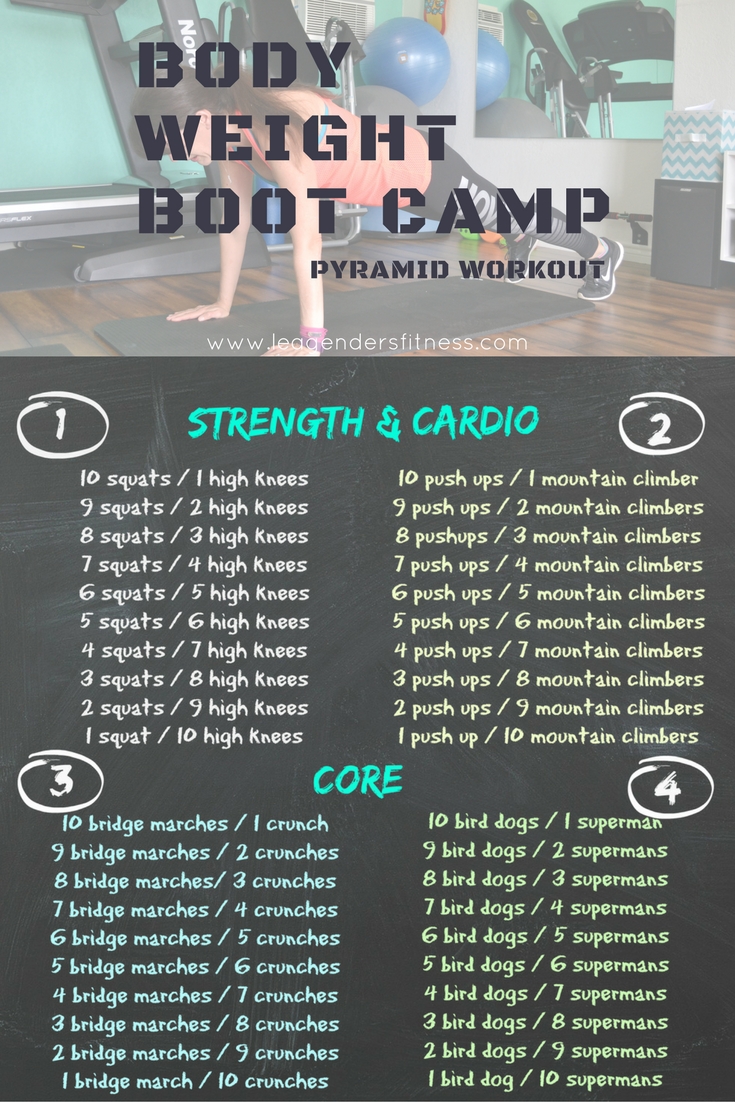
So what does that plan look like? It looks like a lot of exercise plans I have shared with you here, so I thought I would round up my best recovery and foundation building exercises.
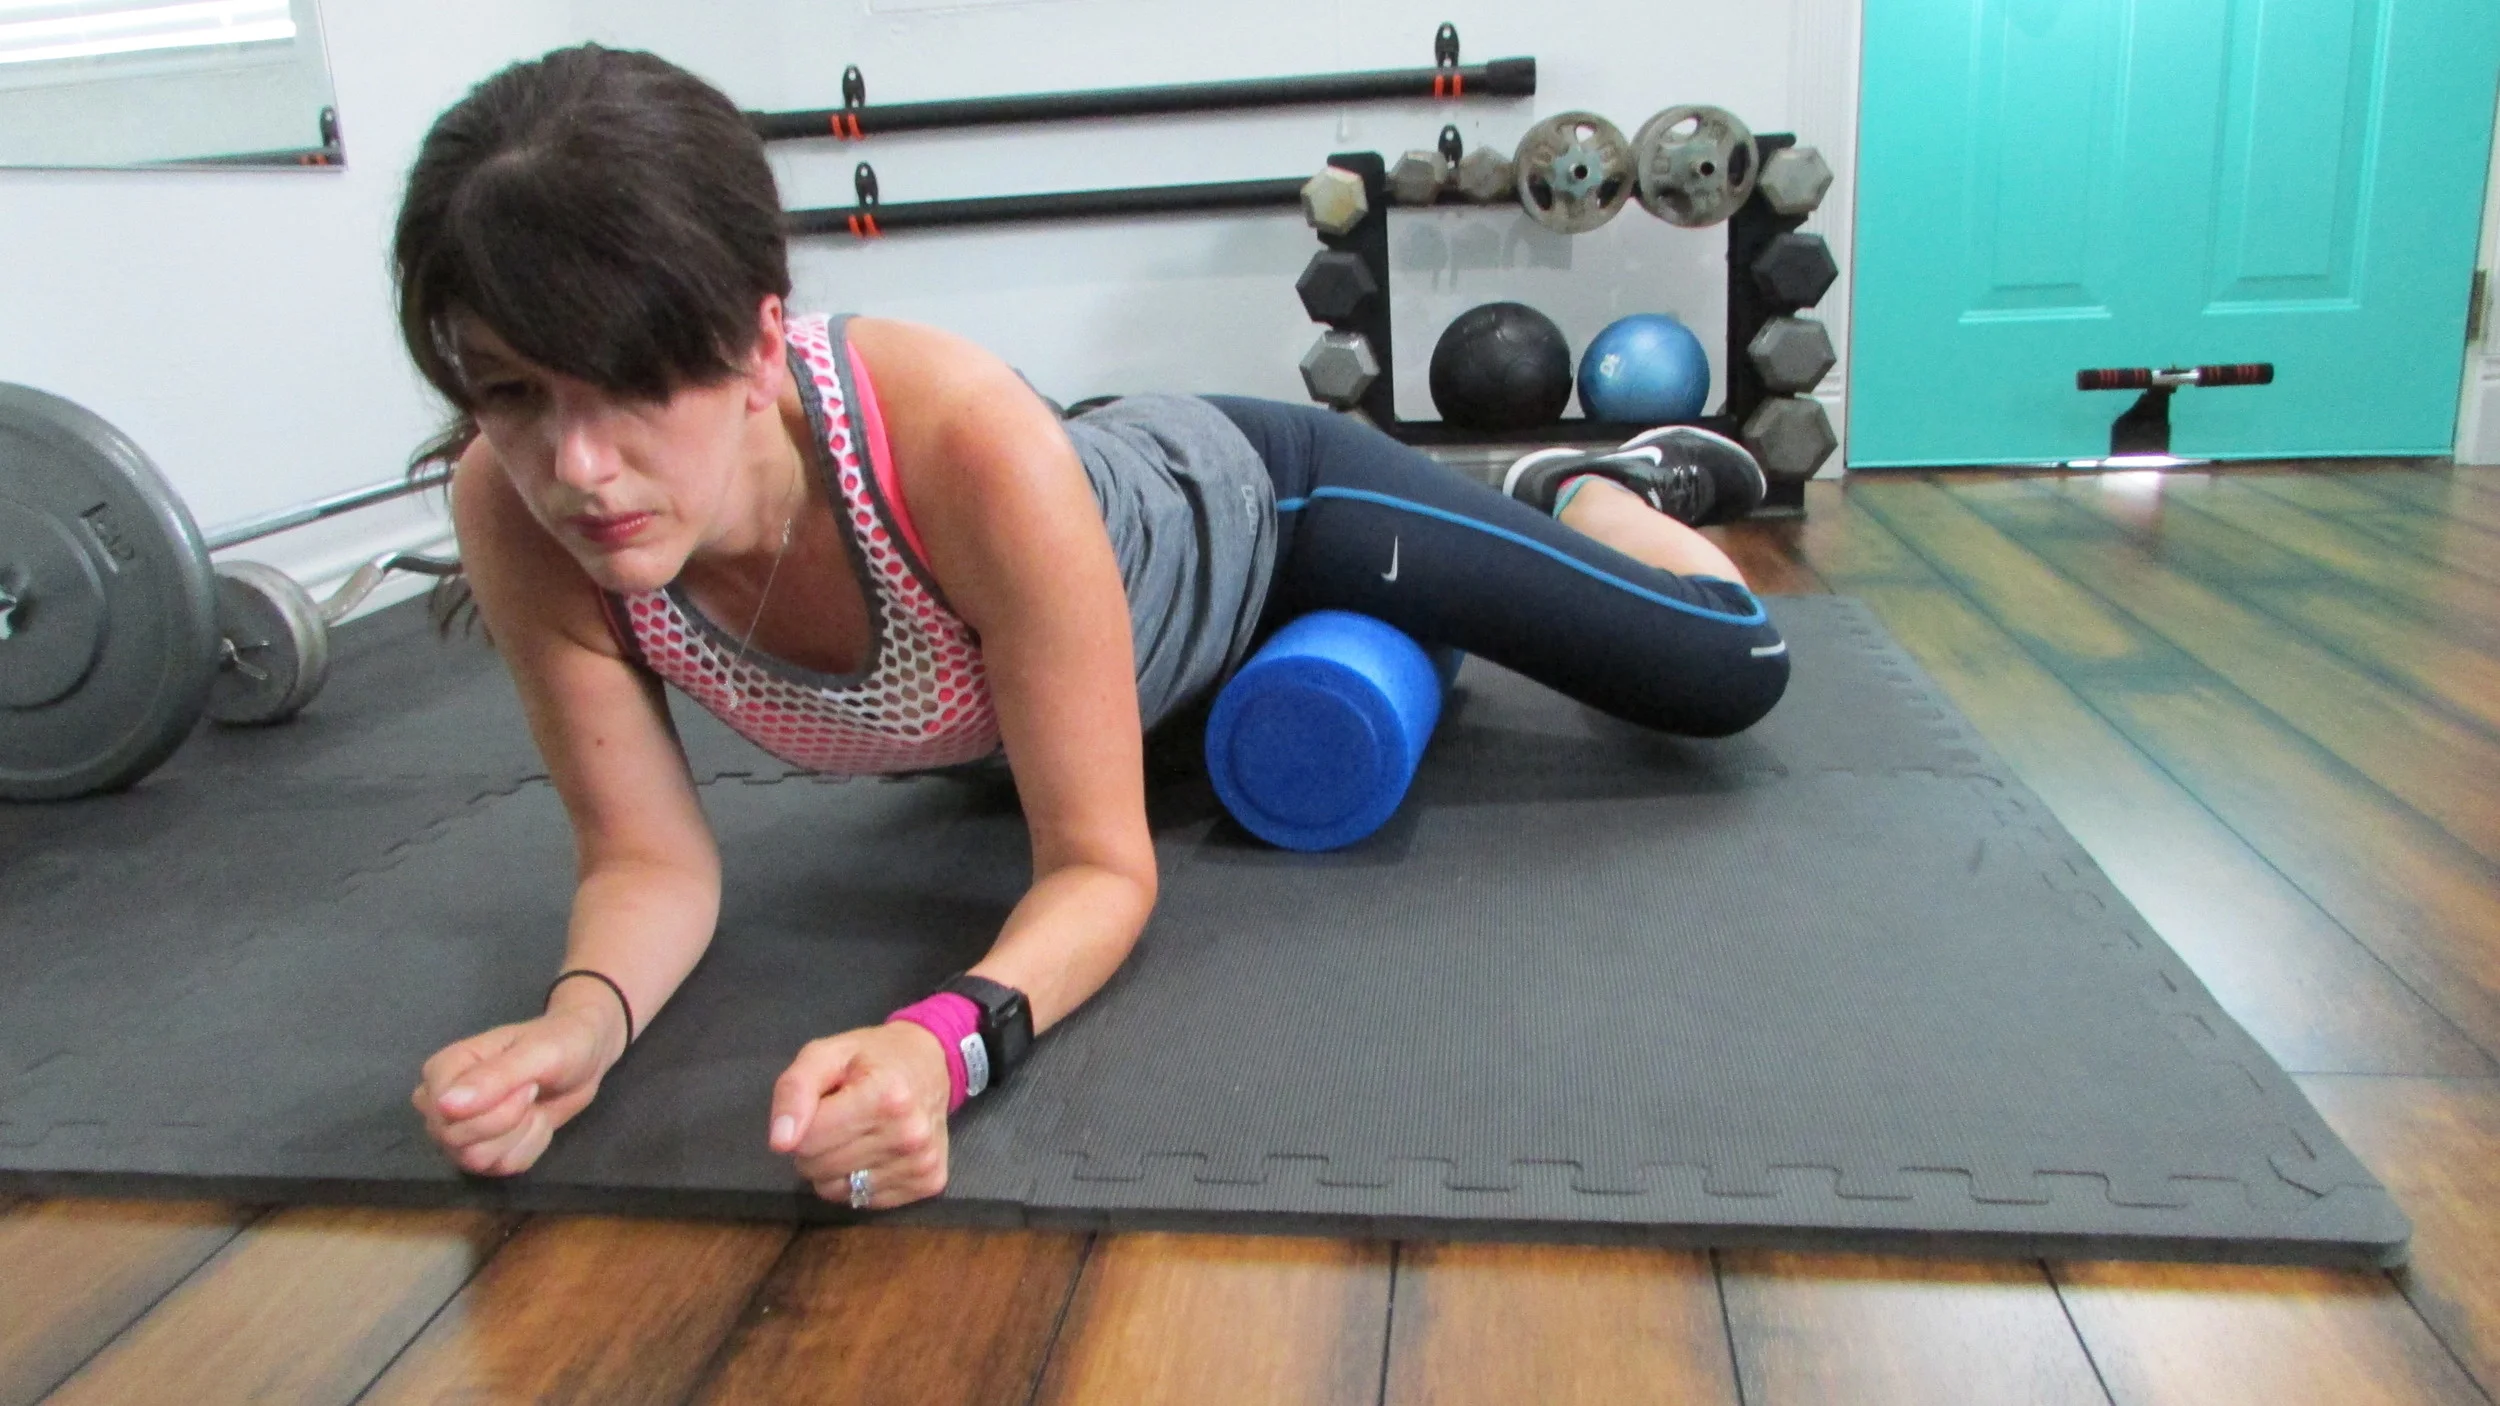
FOAM ROLLING
Foam rolling plays an important role in muscle balance, injury prevention, mobility and flexibility.
PREHAB
I will need to regress some of these exercises as to not put any pressure on my arm or shoulders, but many of these will work in my recovery plan. Back to the basics of clam shells, hip raises and glute bridges for me.
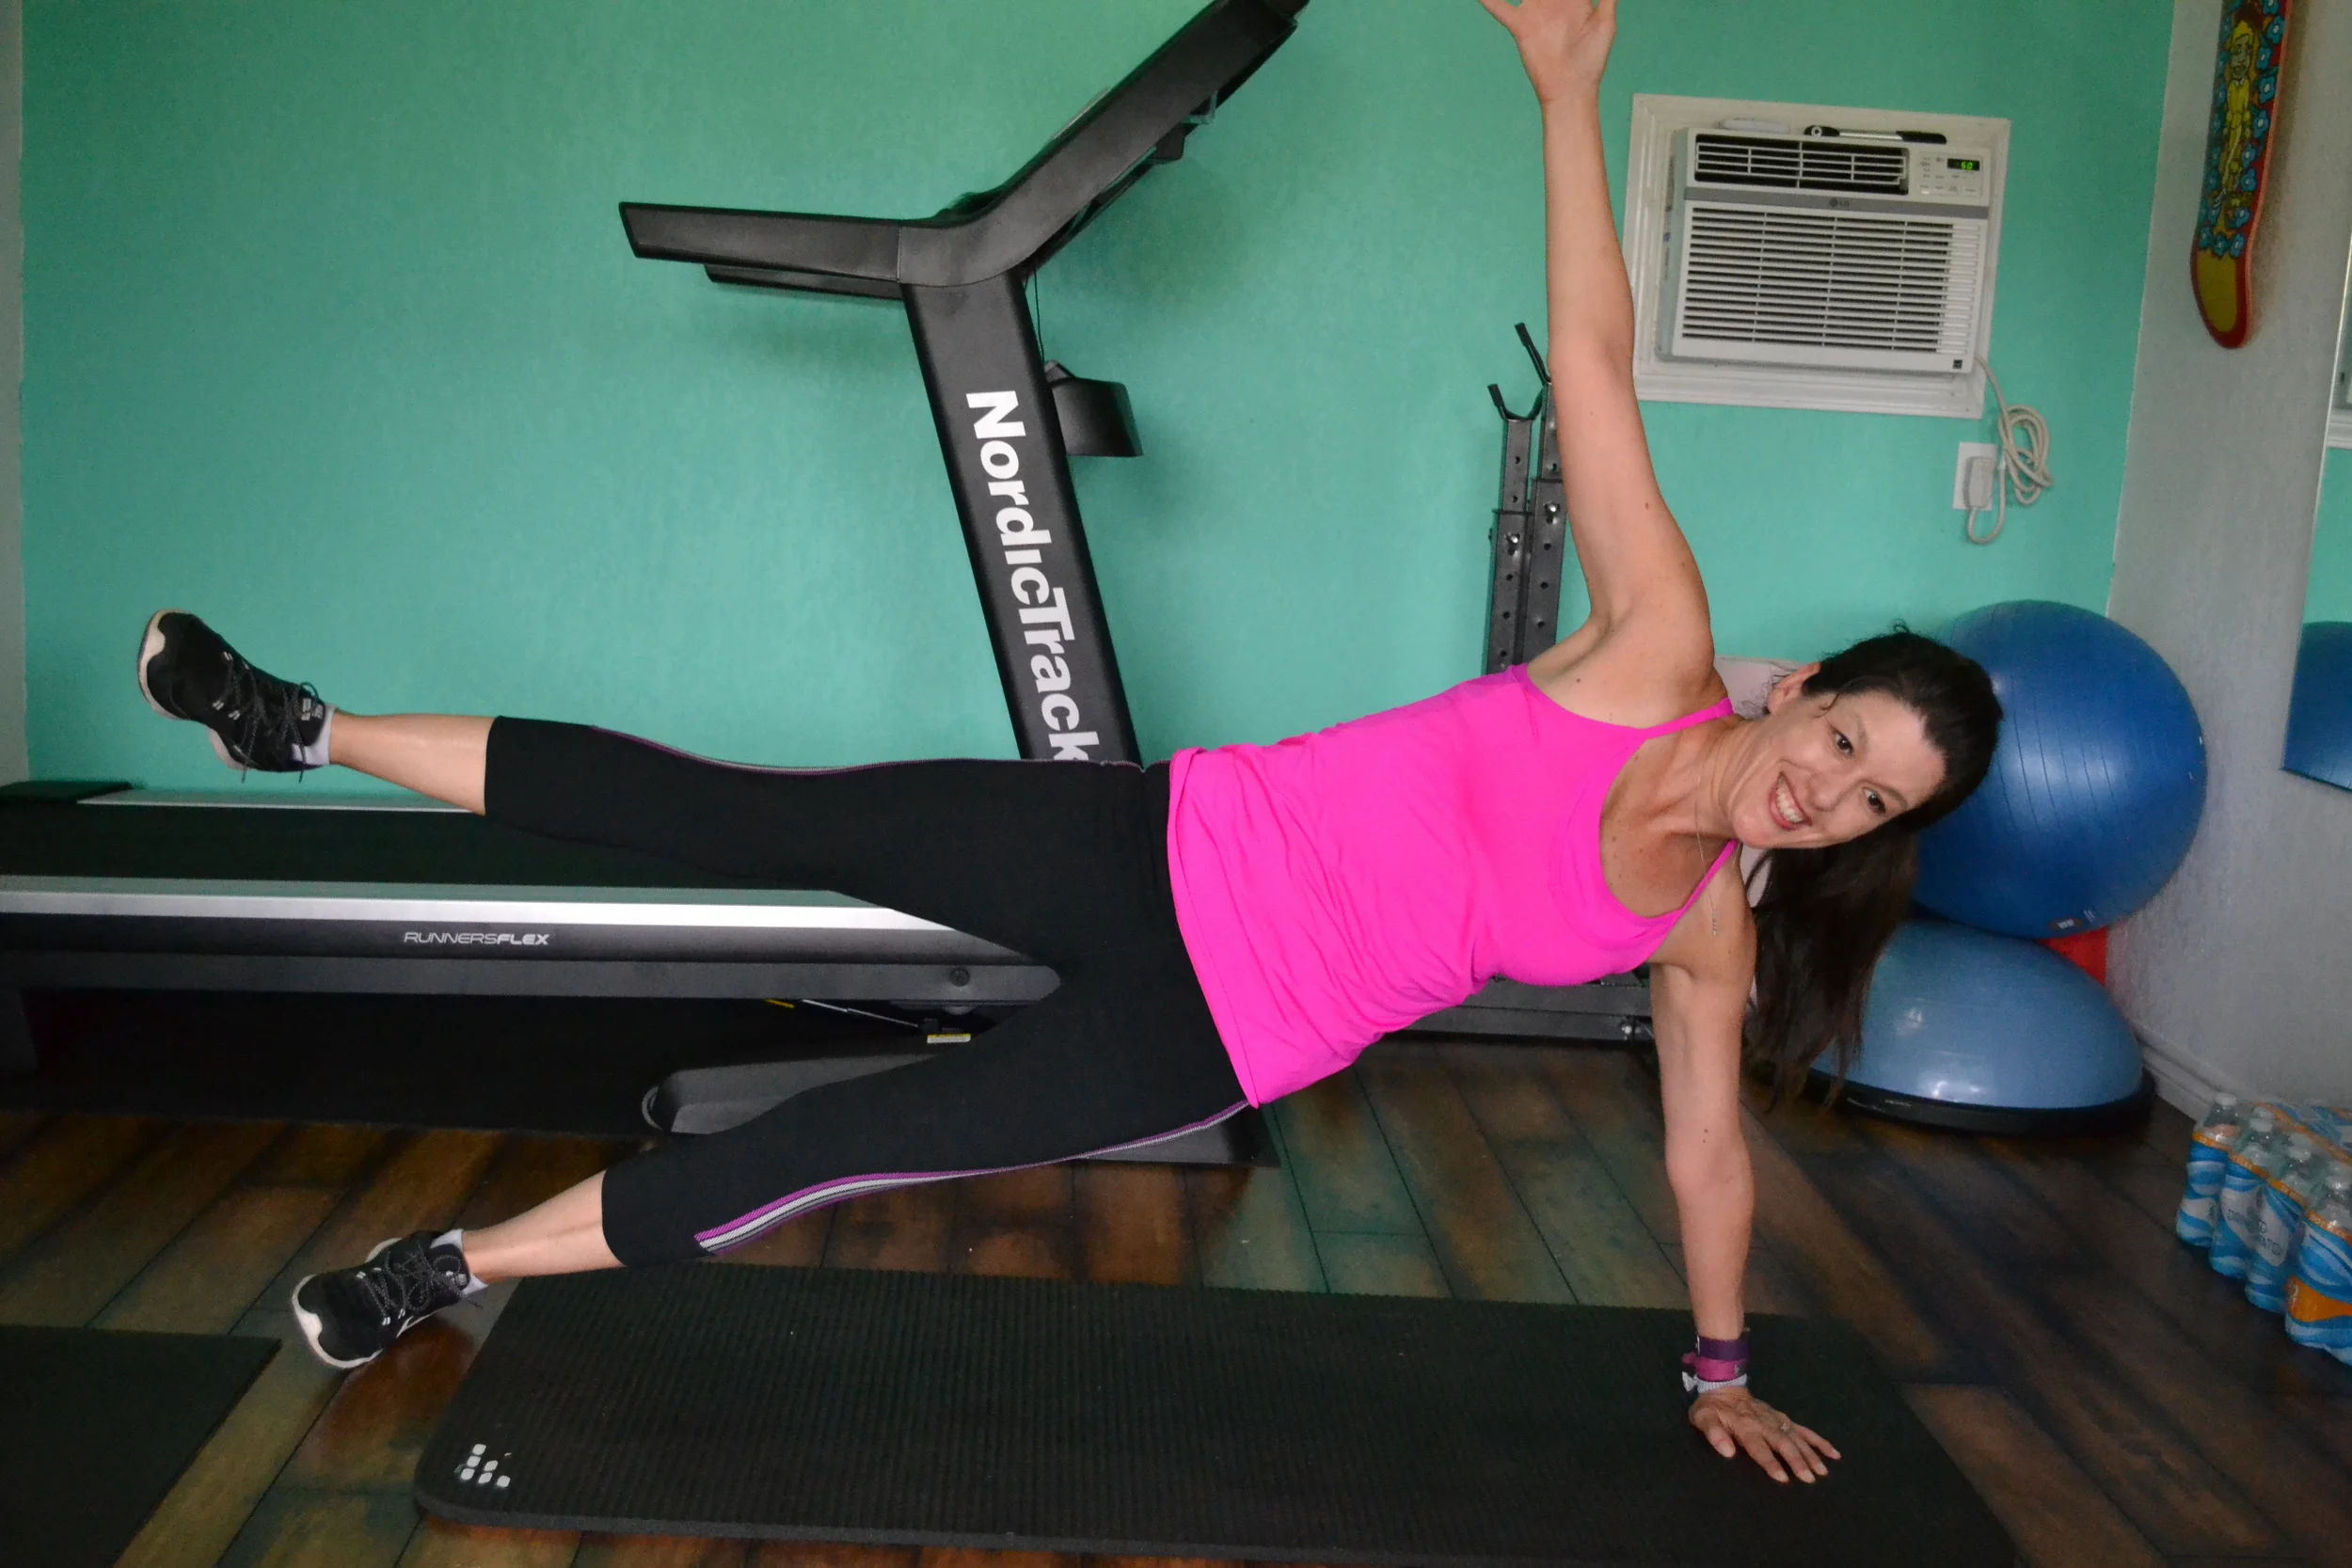
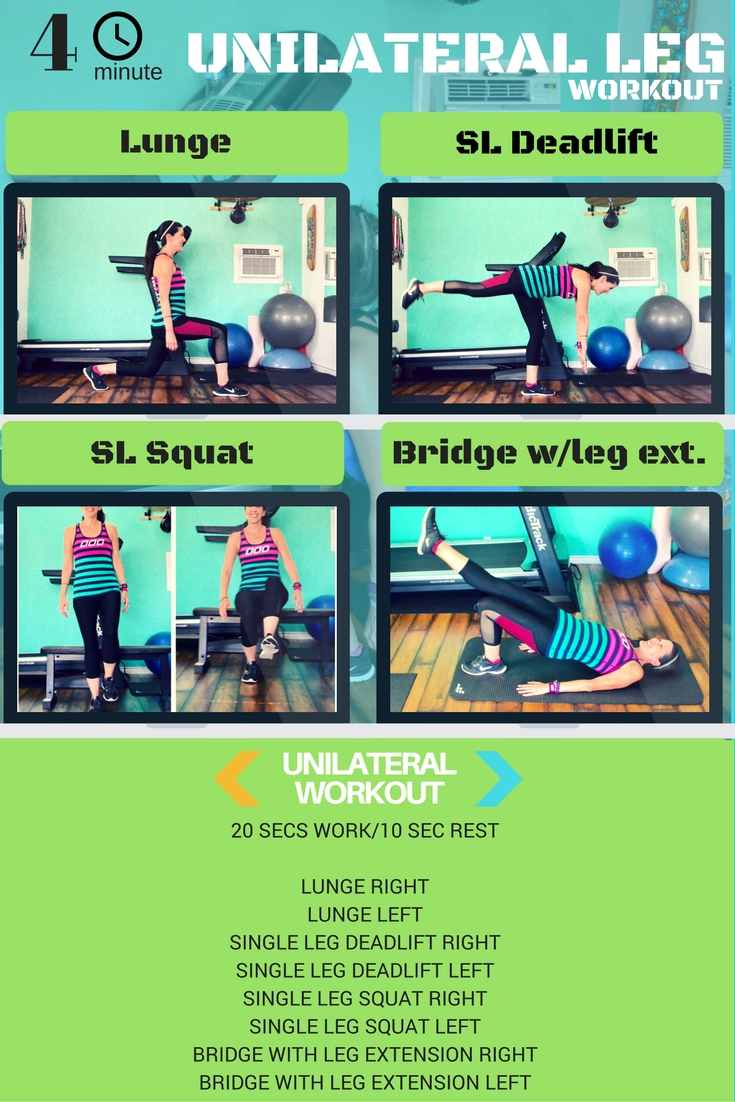
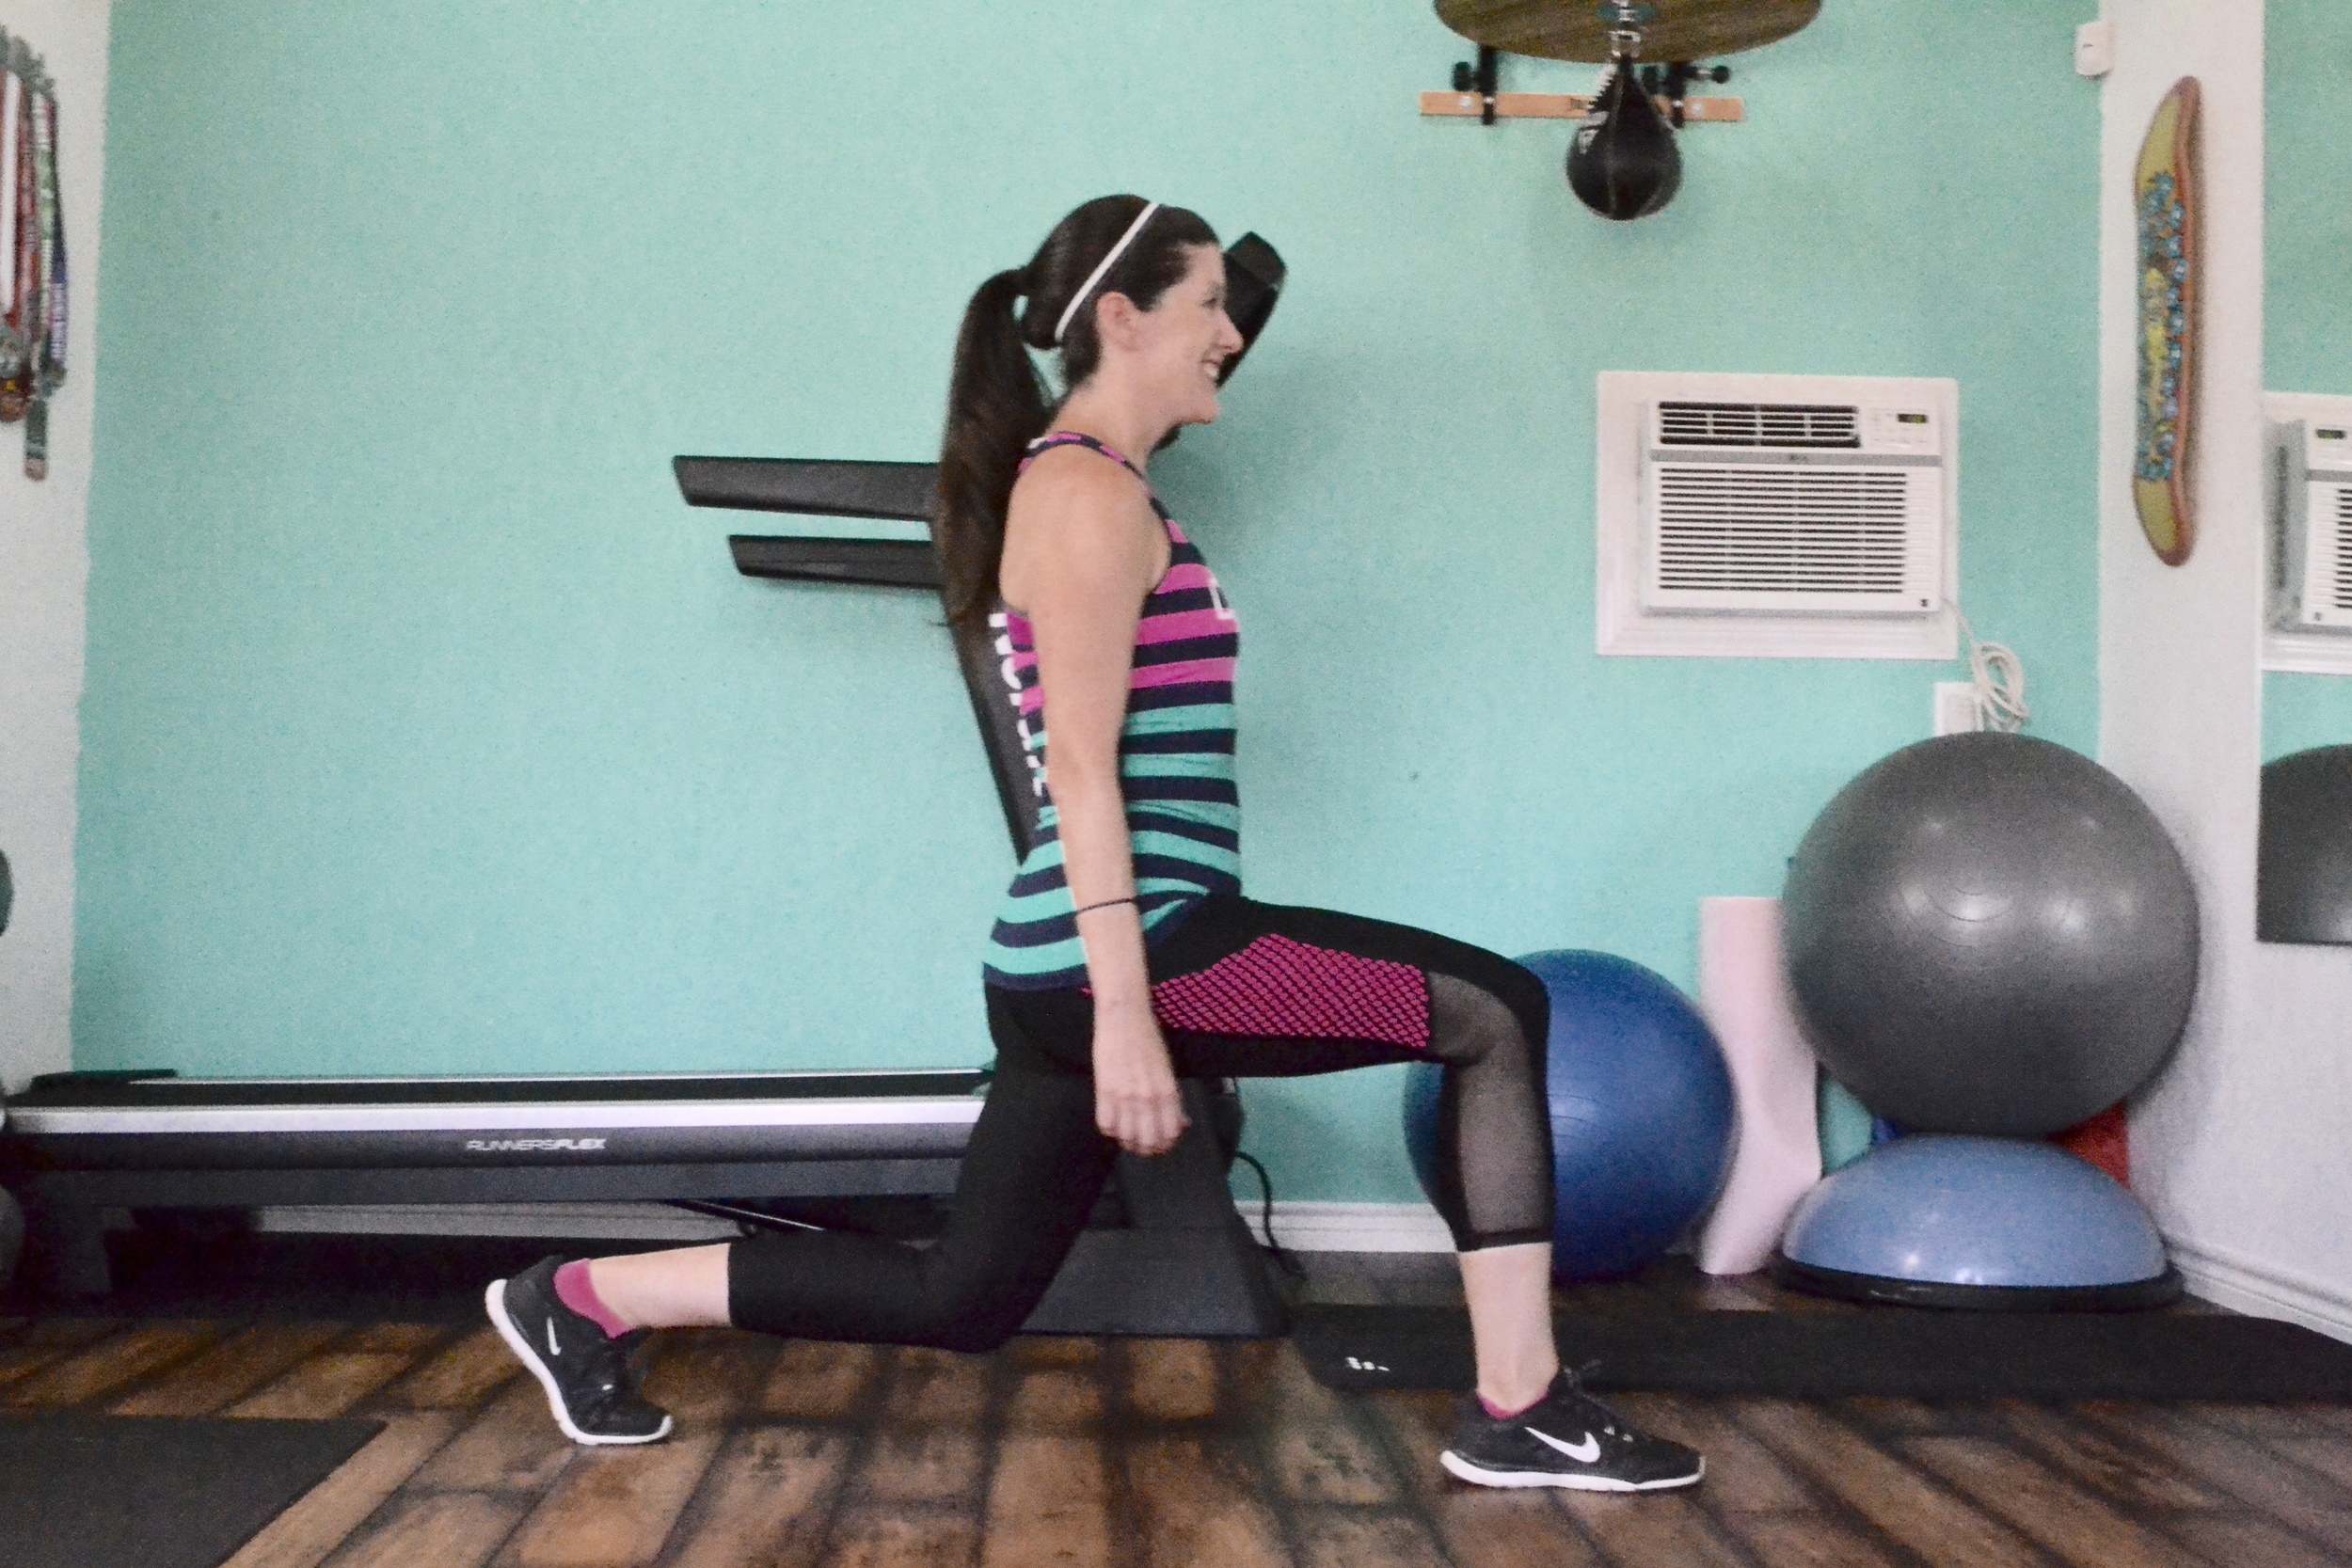
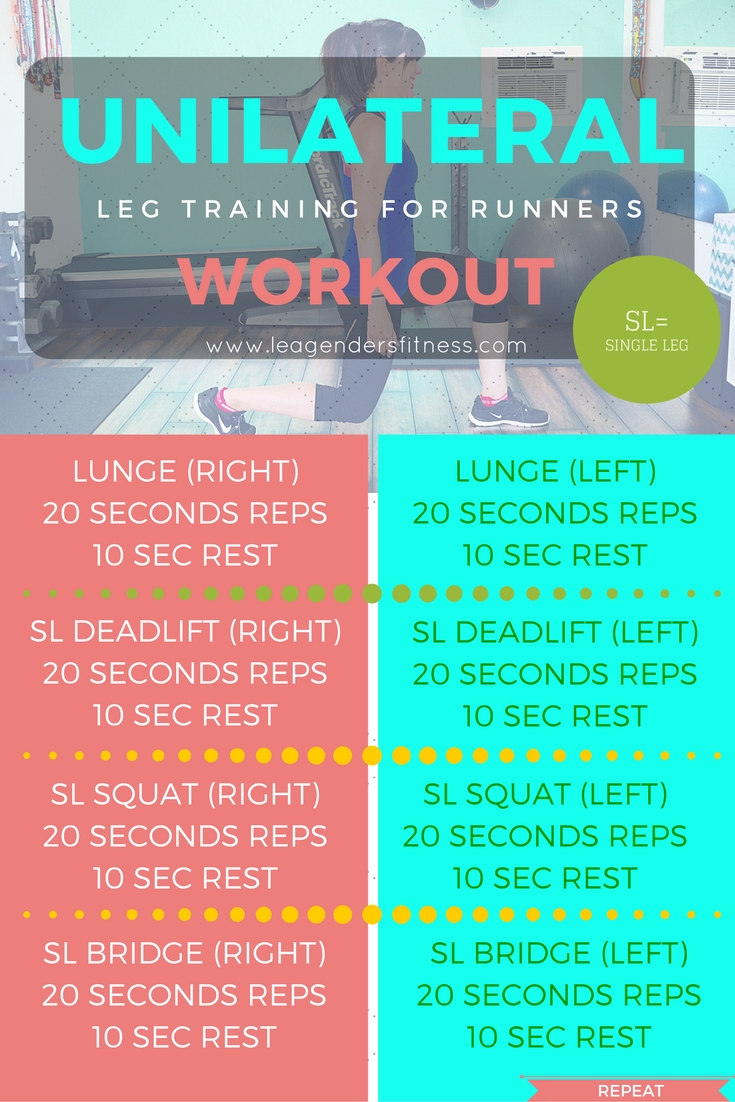
LOWER BODY STRENGTH
There is always benefit in working on lower body strength and this is a great opportunity for me to focus on balance and unilateral strength since heavy weights are not an option.


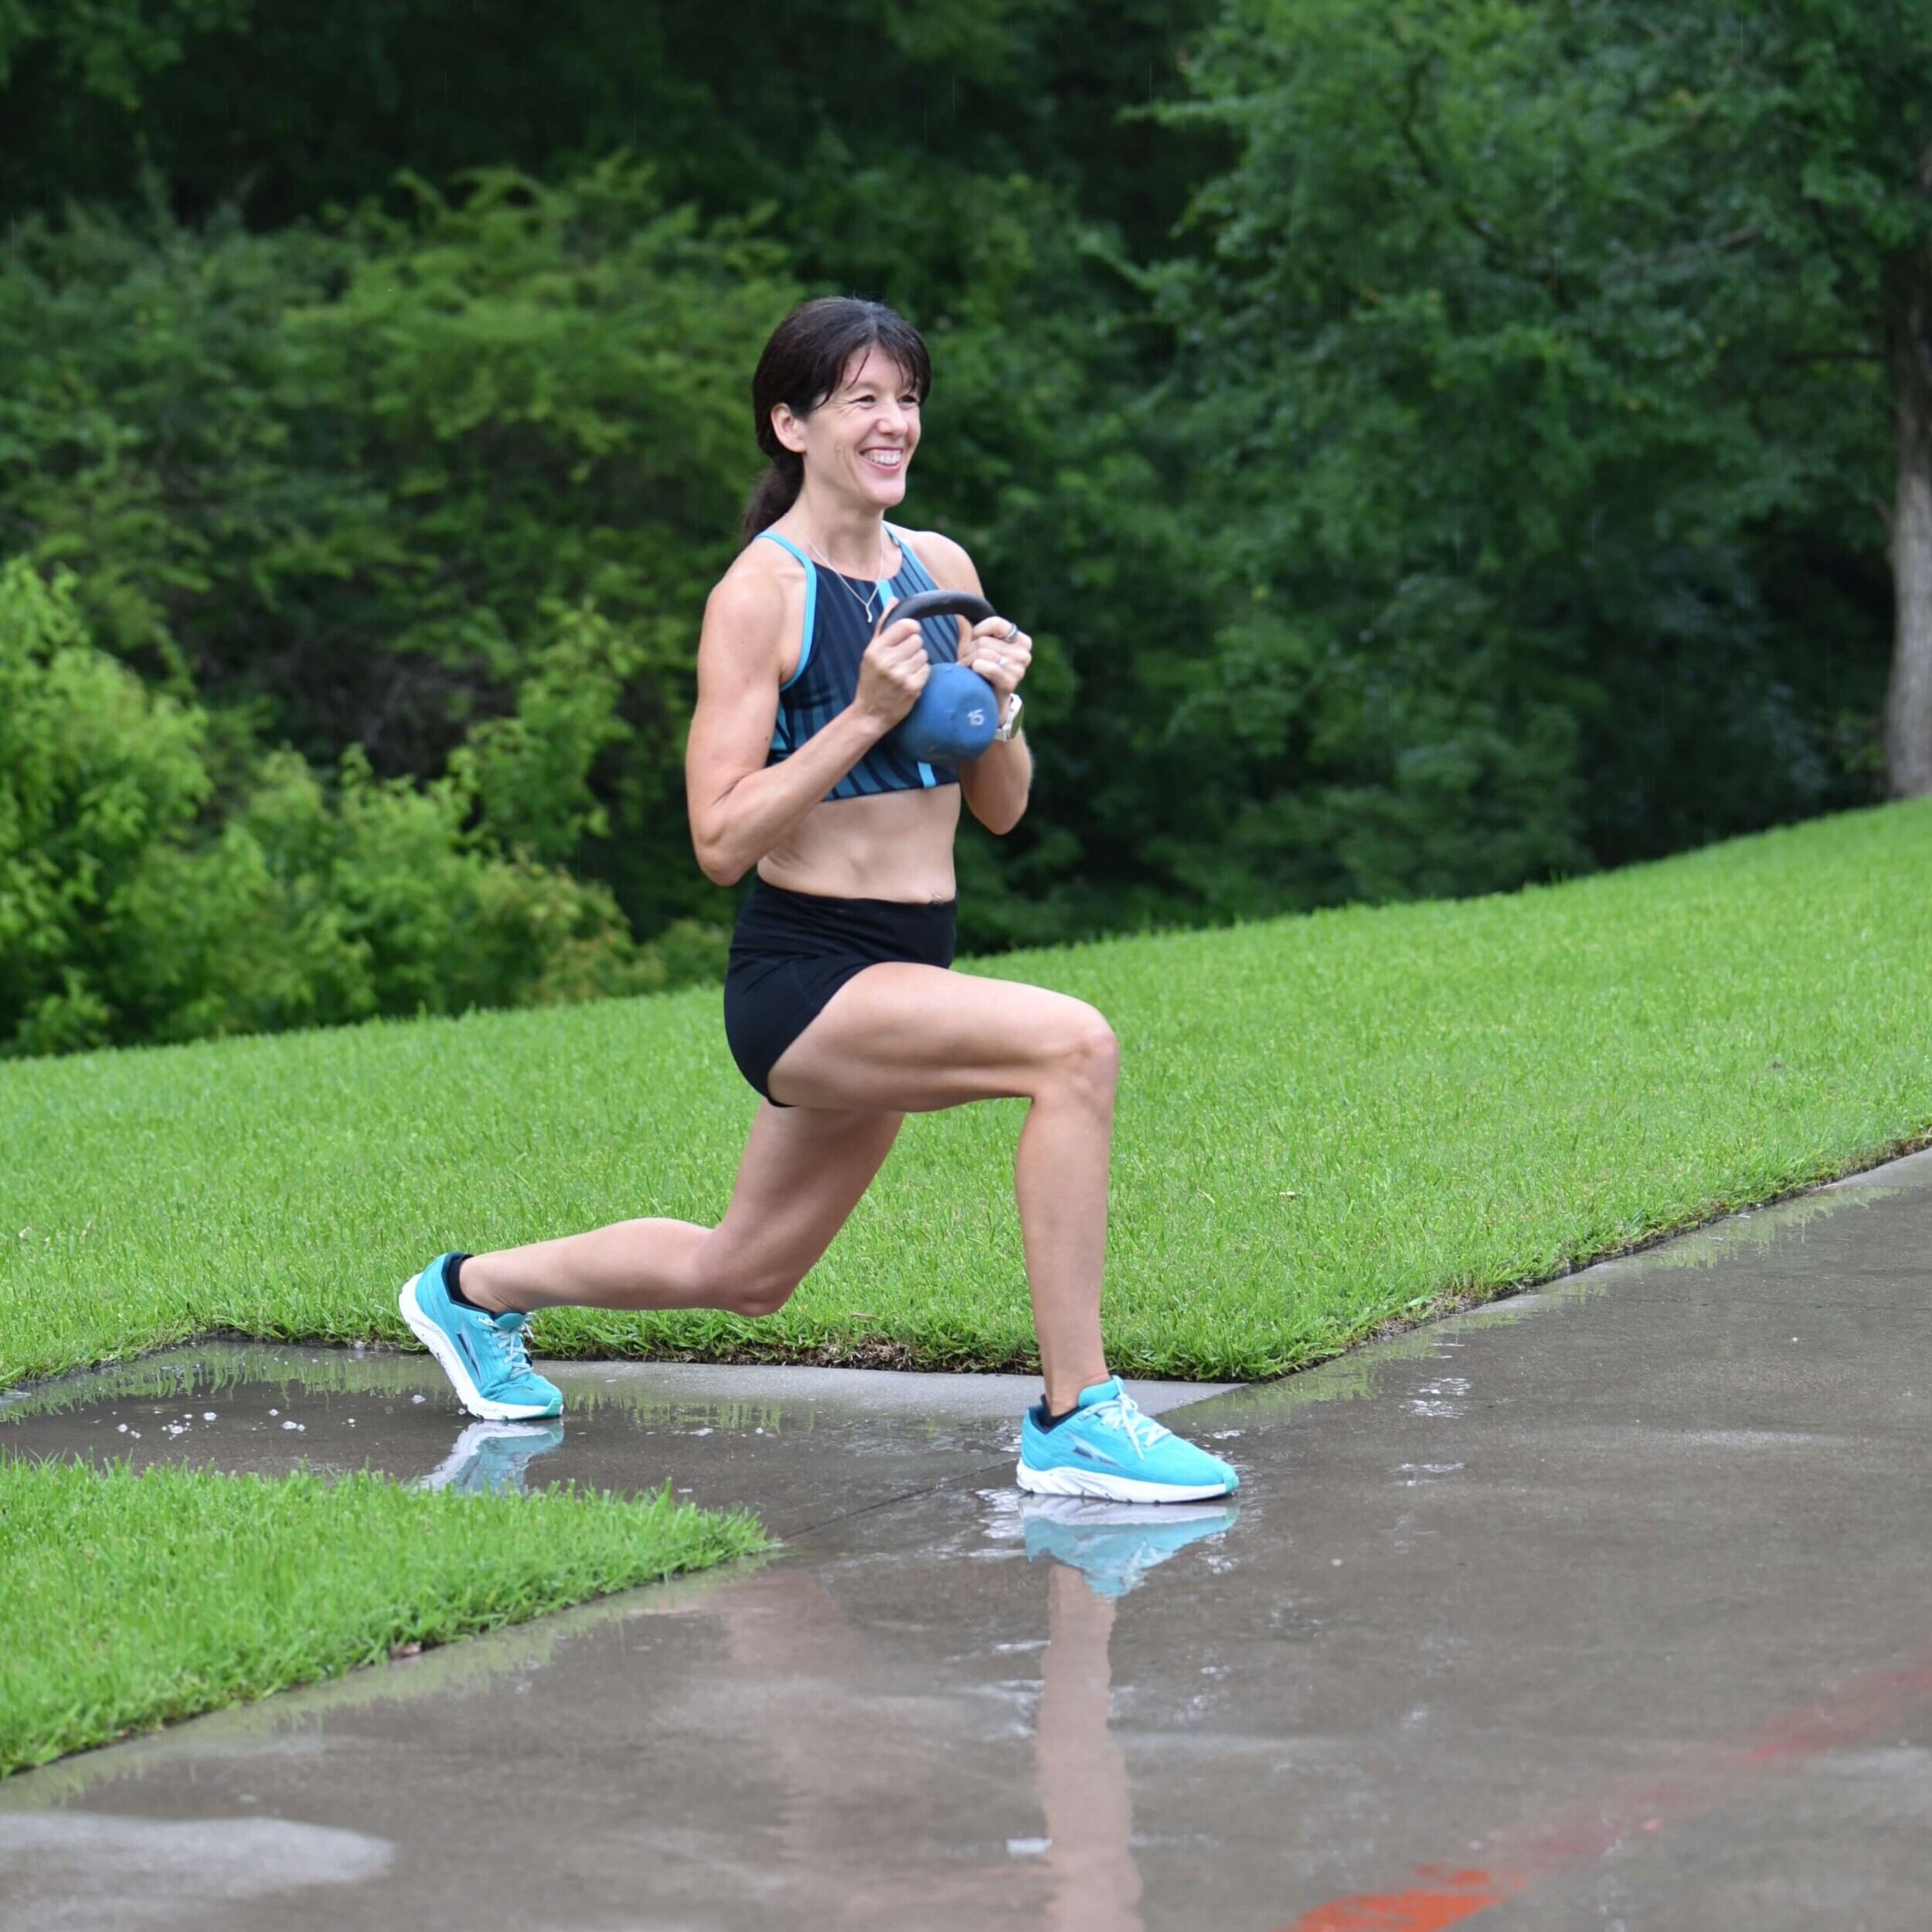
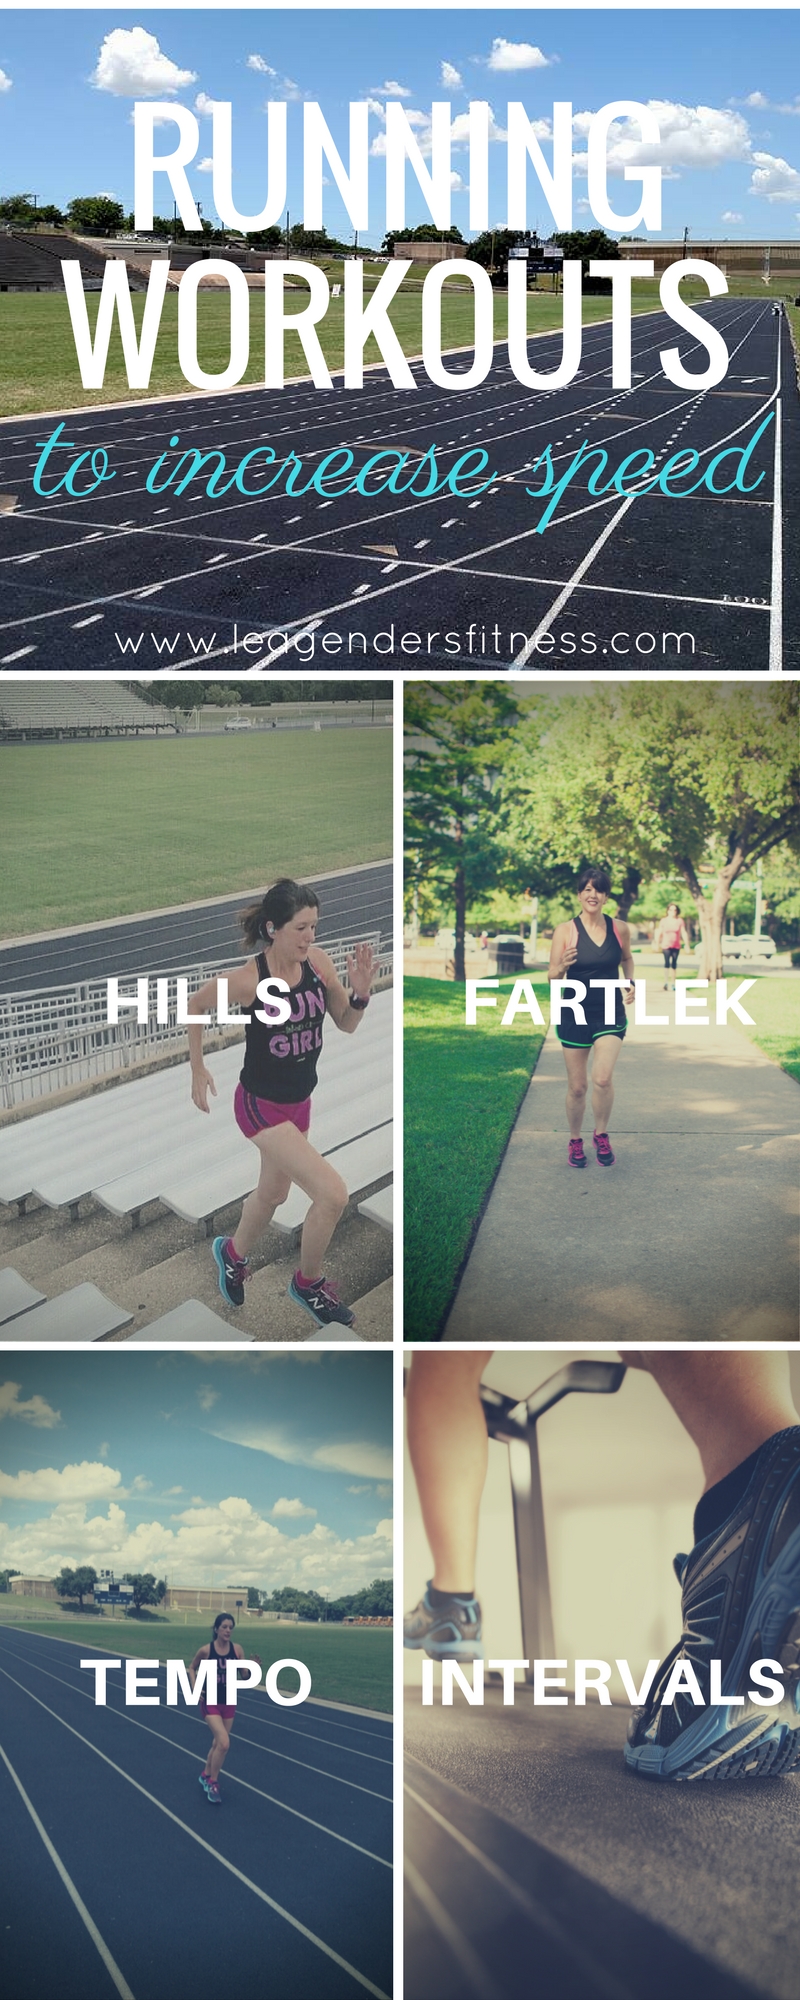
CARDIO
Since running is not an option, I will continue to walk on the streets with hubby, but will also work on treadmill hills to increase the intensity of my walks. I think I should be able to do it without much arm motion. I will let you know how it goes.
I know I can't push recovery any more than I could push progression, but I am hoping to be able to run again by the end of September. I am running the rock 'n' roll half marathon in Vegas in November and I will need the time to get back up to speed with my training. We'll see how it goes.
Next week for workout Wednesday, I will break out the BOSU ball to show you some fantastic effective balance and stability exercises. Despite my injury, I am looking forward to rebuilding and coming back stronger than ever.
Have you ever felt my pain? Wish me well in the comments. Stay tuned next week for some fun on the BOSU ball.
Like this post? Please consider sharing.
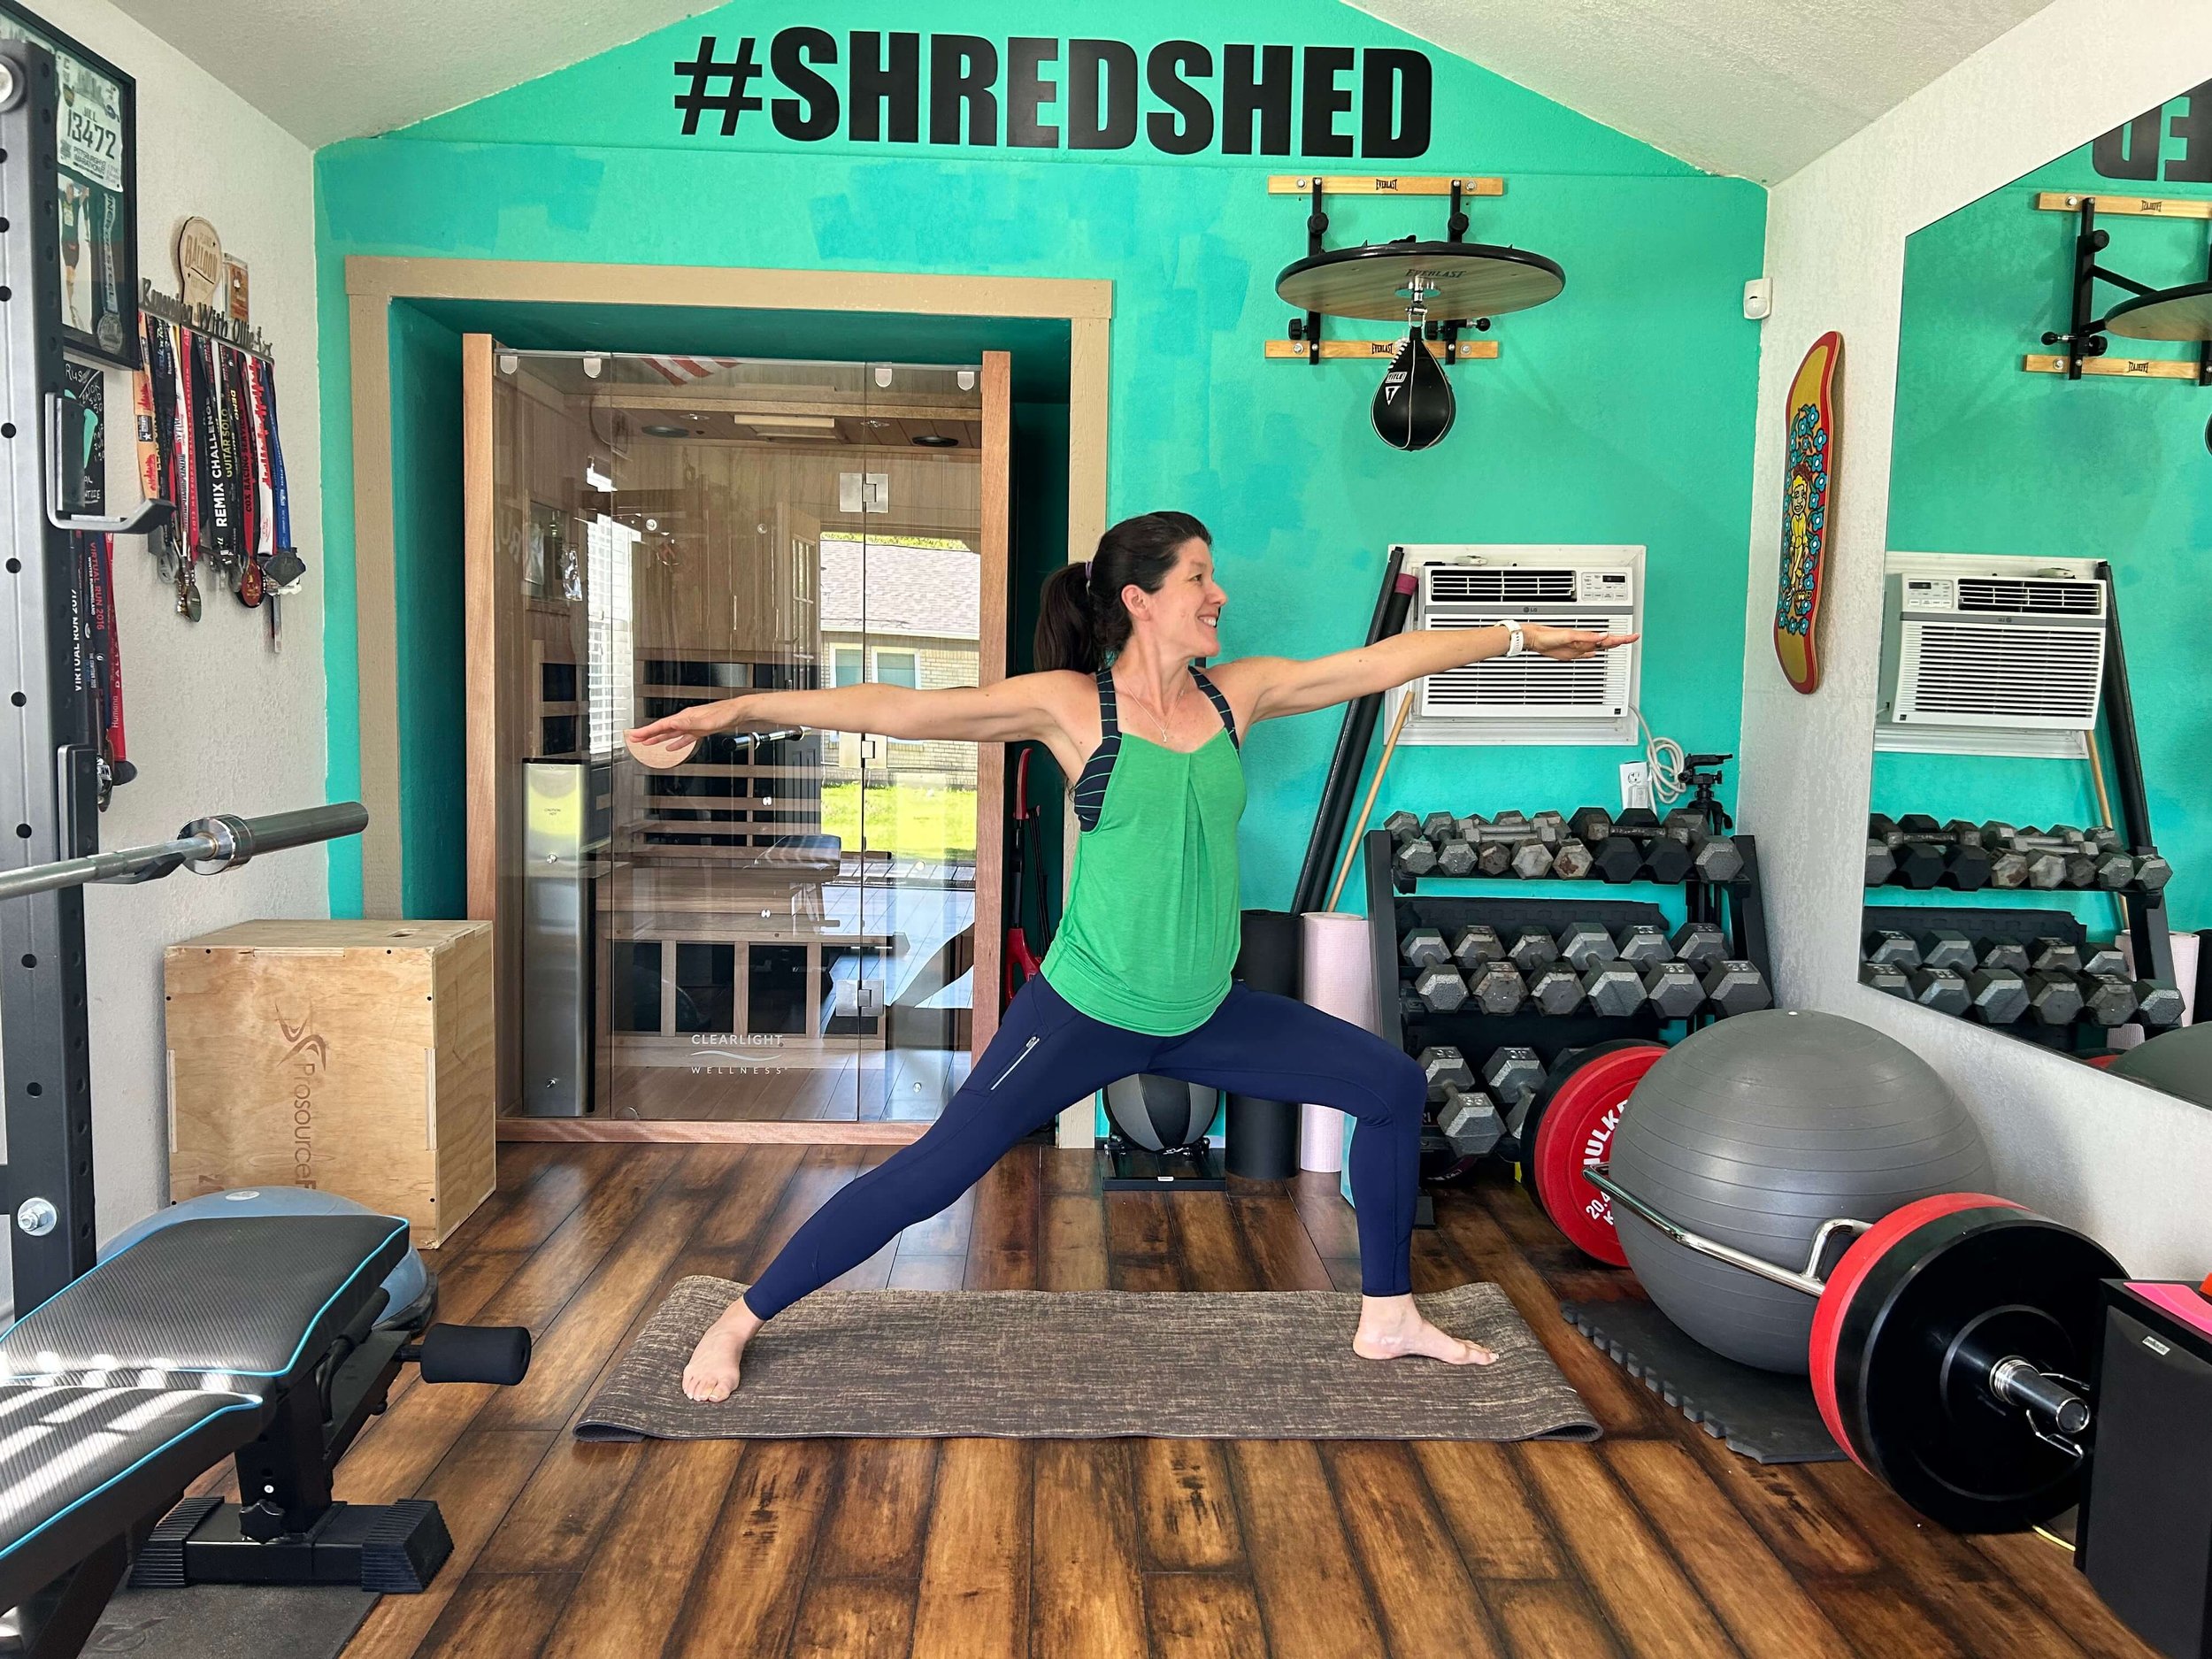
I am a NASM personal trainer and RRCA adult distance running coach that specializes in strength training for runners. I offer in-person training in the Shredshed, online training and Fit to Run bootcamps. If you are interested in a more in-depth running or strength training plan, please contact me. Have questions? I'd love to help.
While I am a certified personal trainer, I am not your personal trainer. Since I don't know your exercise abilities, injury background or medical history, please see your doctor before beginning any new exercise program.